(As an Amazon Associate, I earn from qualifying purchases.) Additionally, I am not a doctor or health physician, and the advice given here should not be used in place of professional medical advice. Please do your own research.
Hey there friends!
It’s great to be here with you in part two of How to Start an Herb Garden! Today, we’re talking about starting a good, old fashioned, in the ground herb garden!
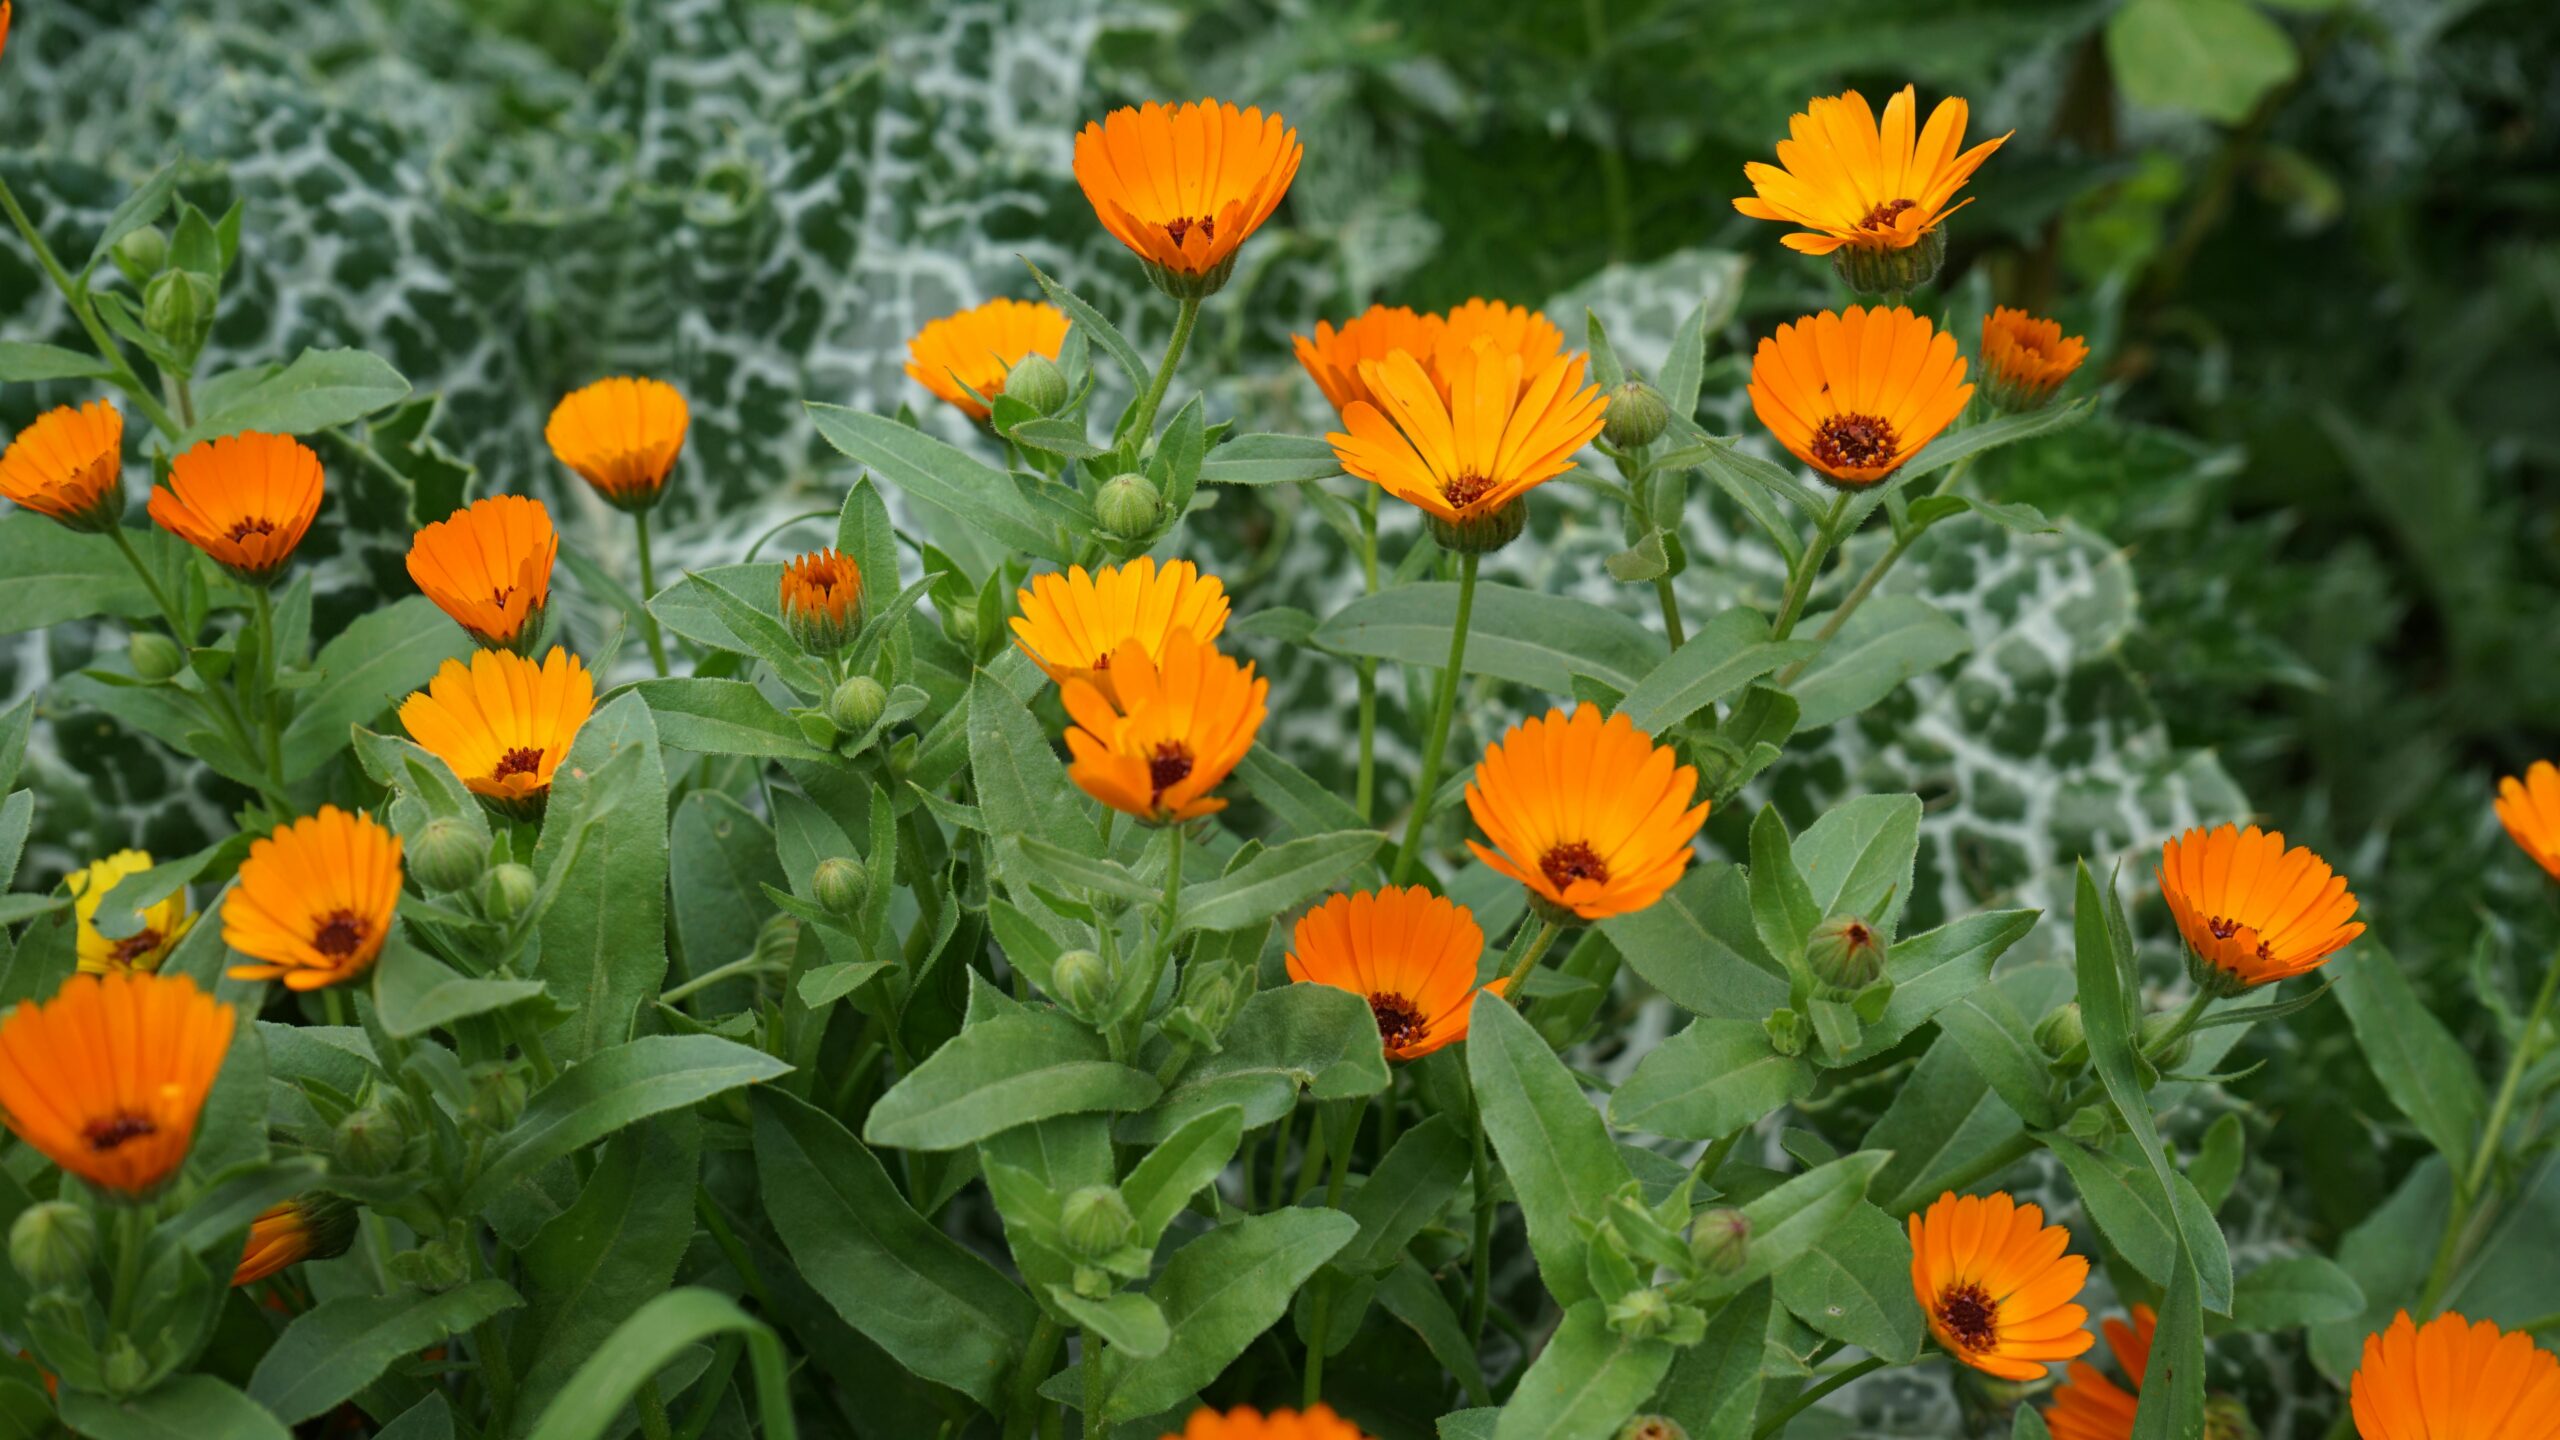
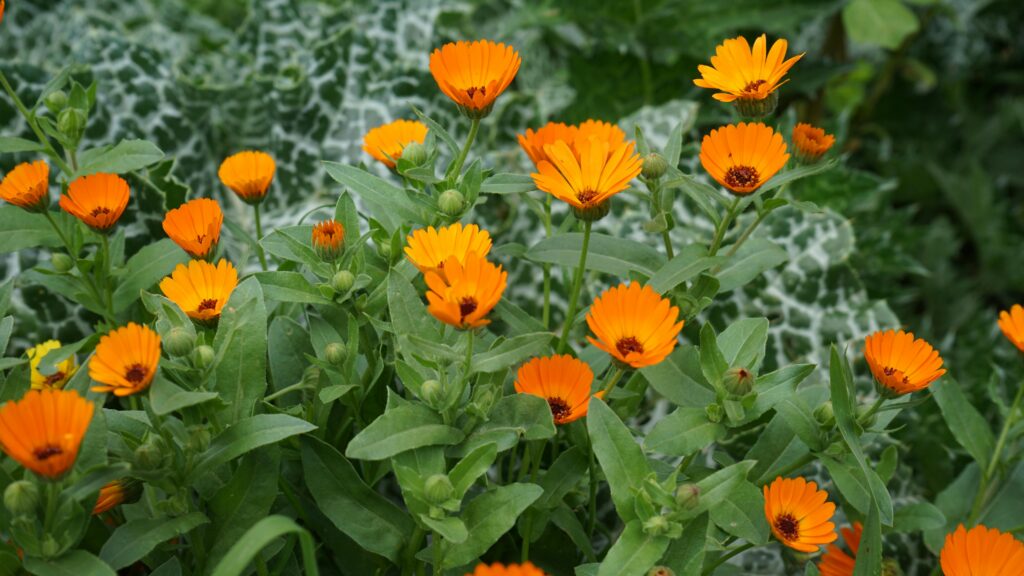
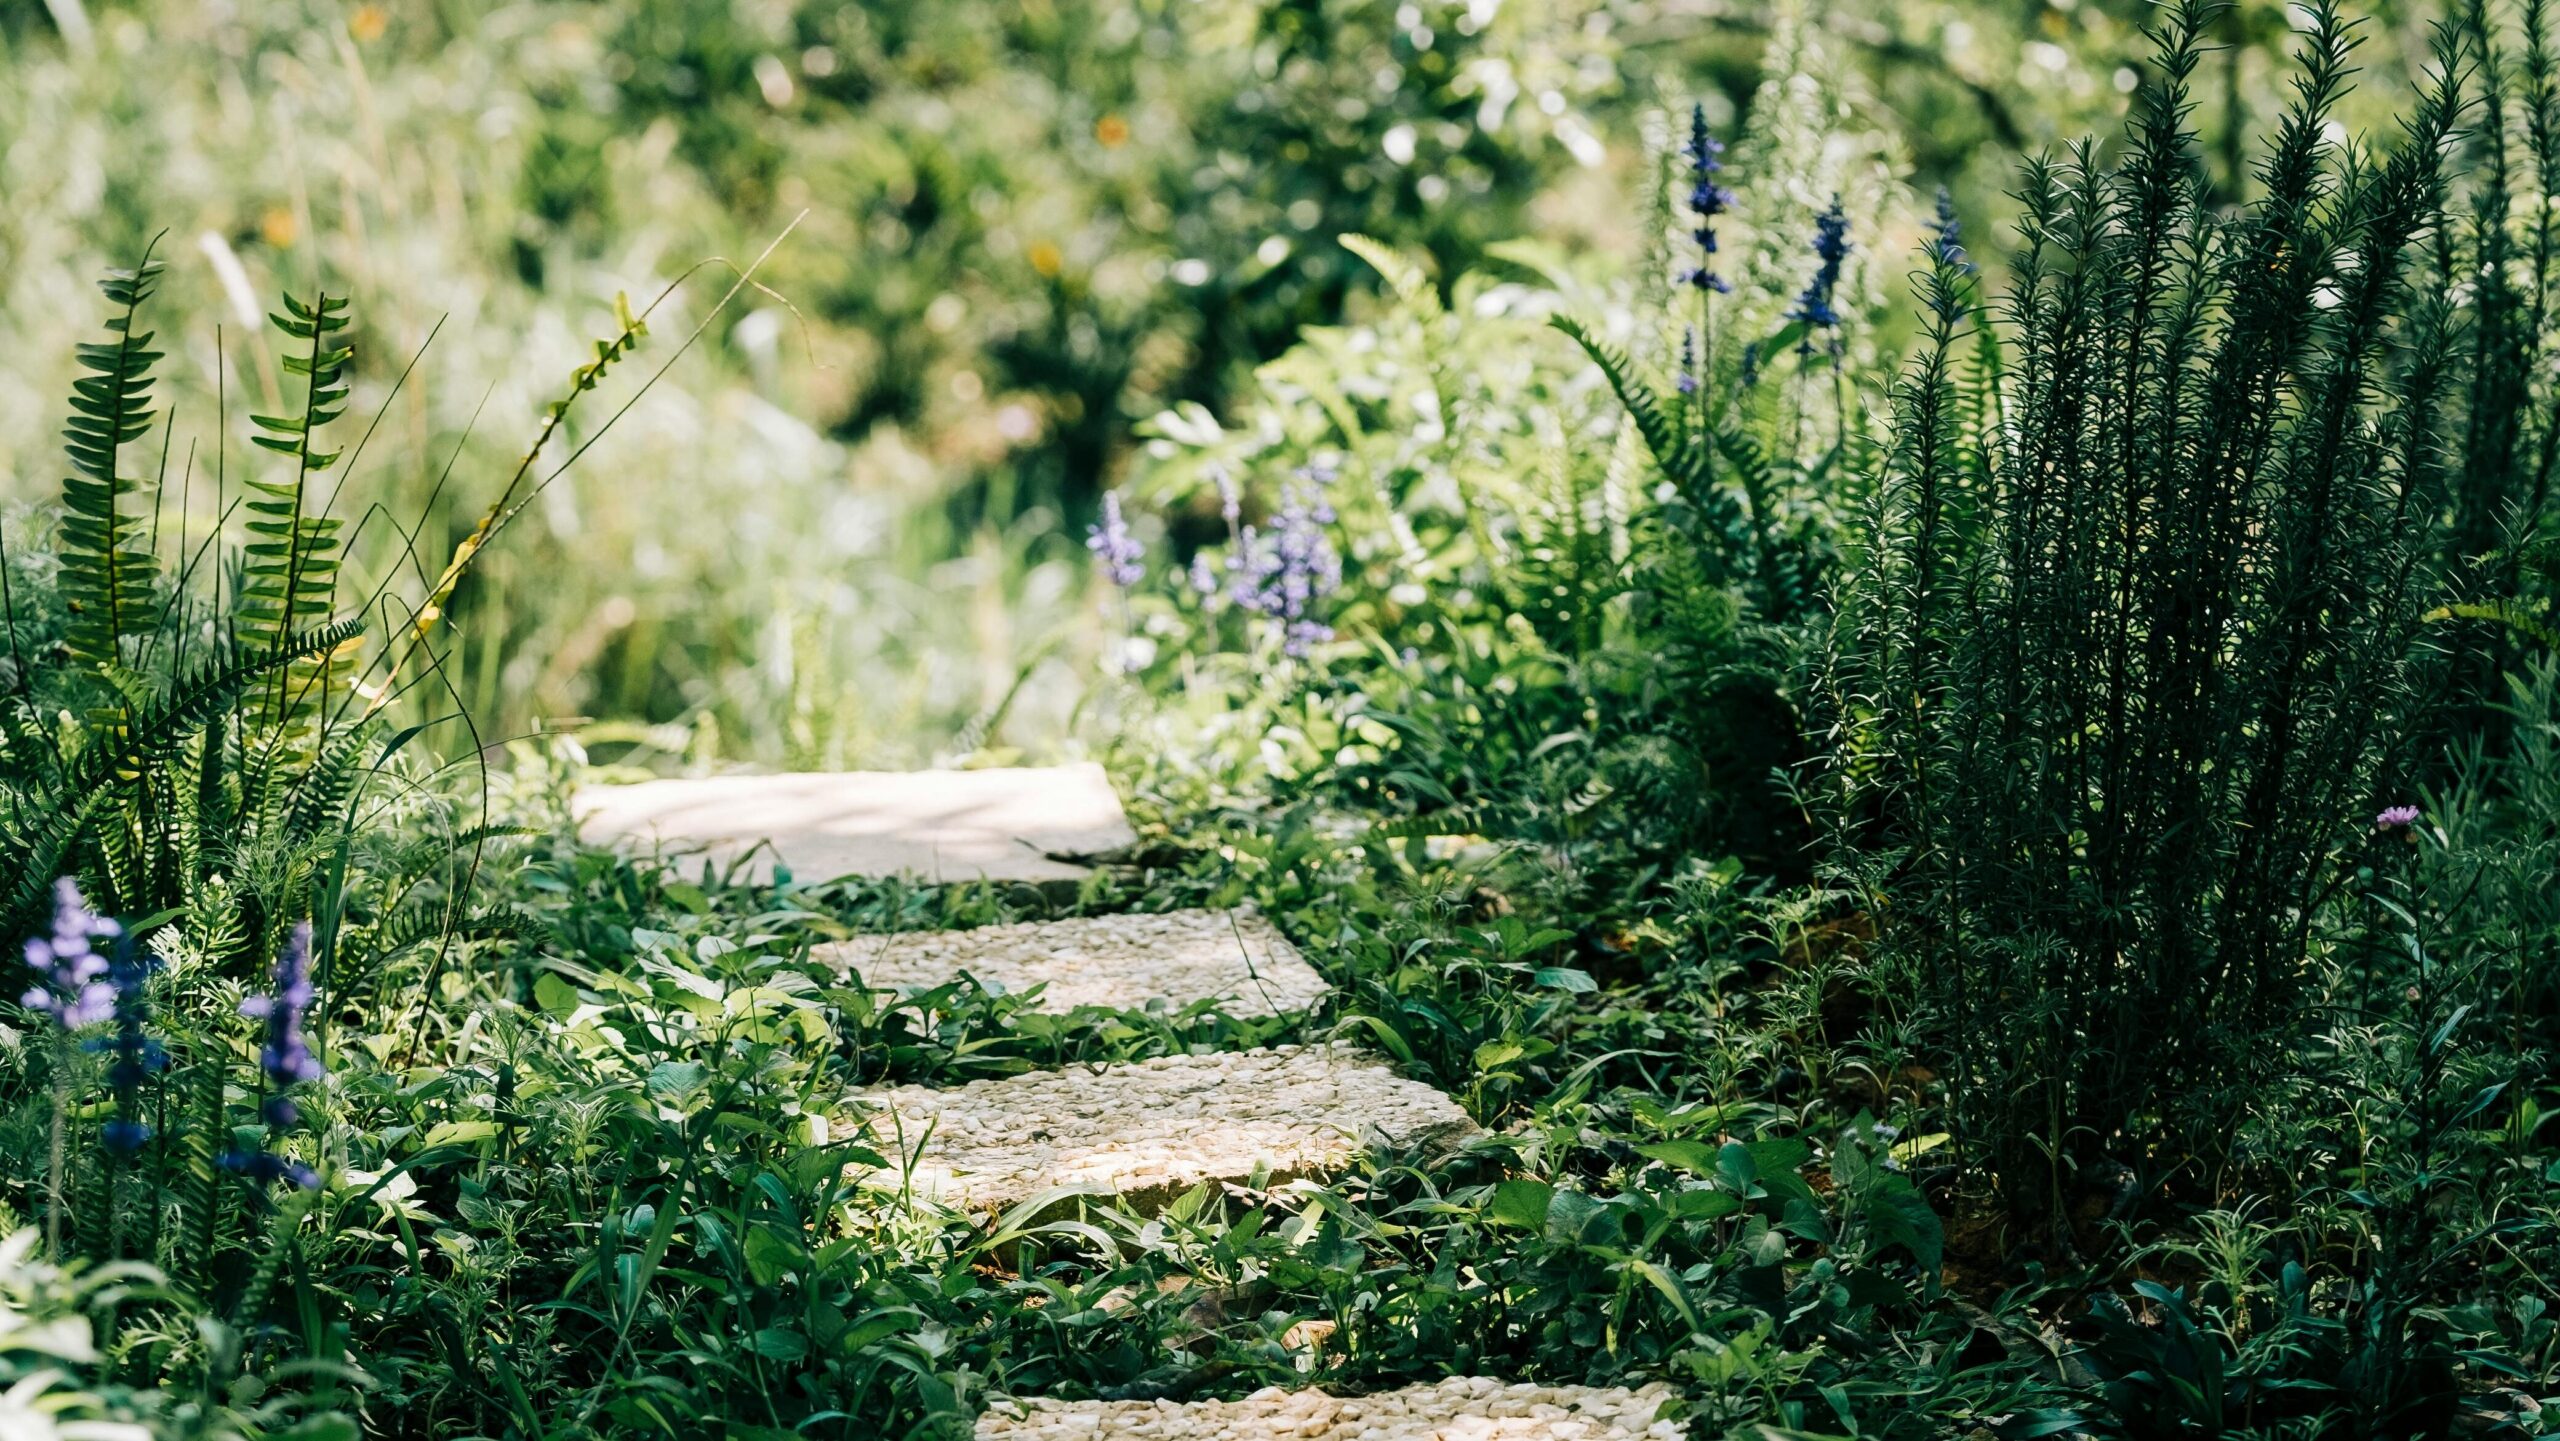
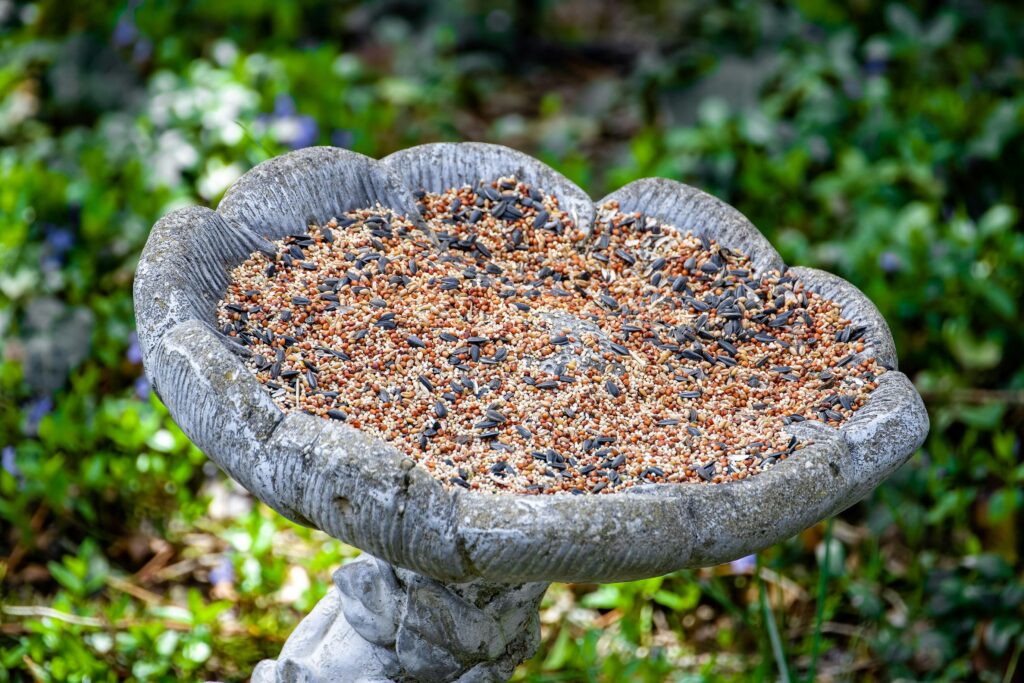
This is the type of herb garden that you might think of as a kitchen garden – complete with beds of herbs spilling into the walkways, bees and butterflies pollinating away as they gather nectar from your blooming herbs, lovely smells on daily walks, and maybe even a bird bath or a sundial to pull it all together!
Of course, you don’t necessarily need borders and walkways, and just getting a few plants going in their favorite conditions is perfectly fine and lovely!
But, when you are getting ready to start an in-ground herb garden, you do want to take a few things into consideration.
Things like the growing conditions in your yard – including sun/shade, water movement and availability, and the soil type/quality that you’re working with.
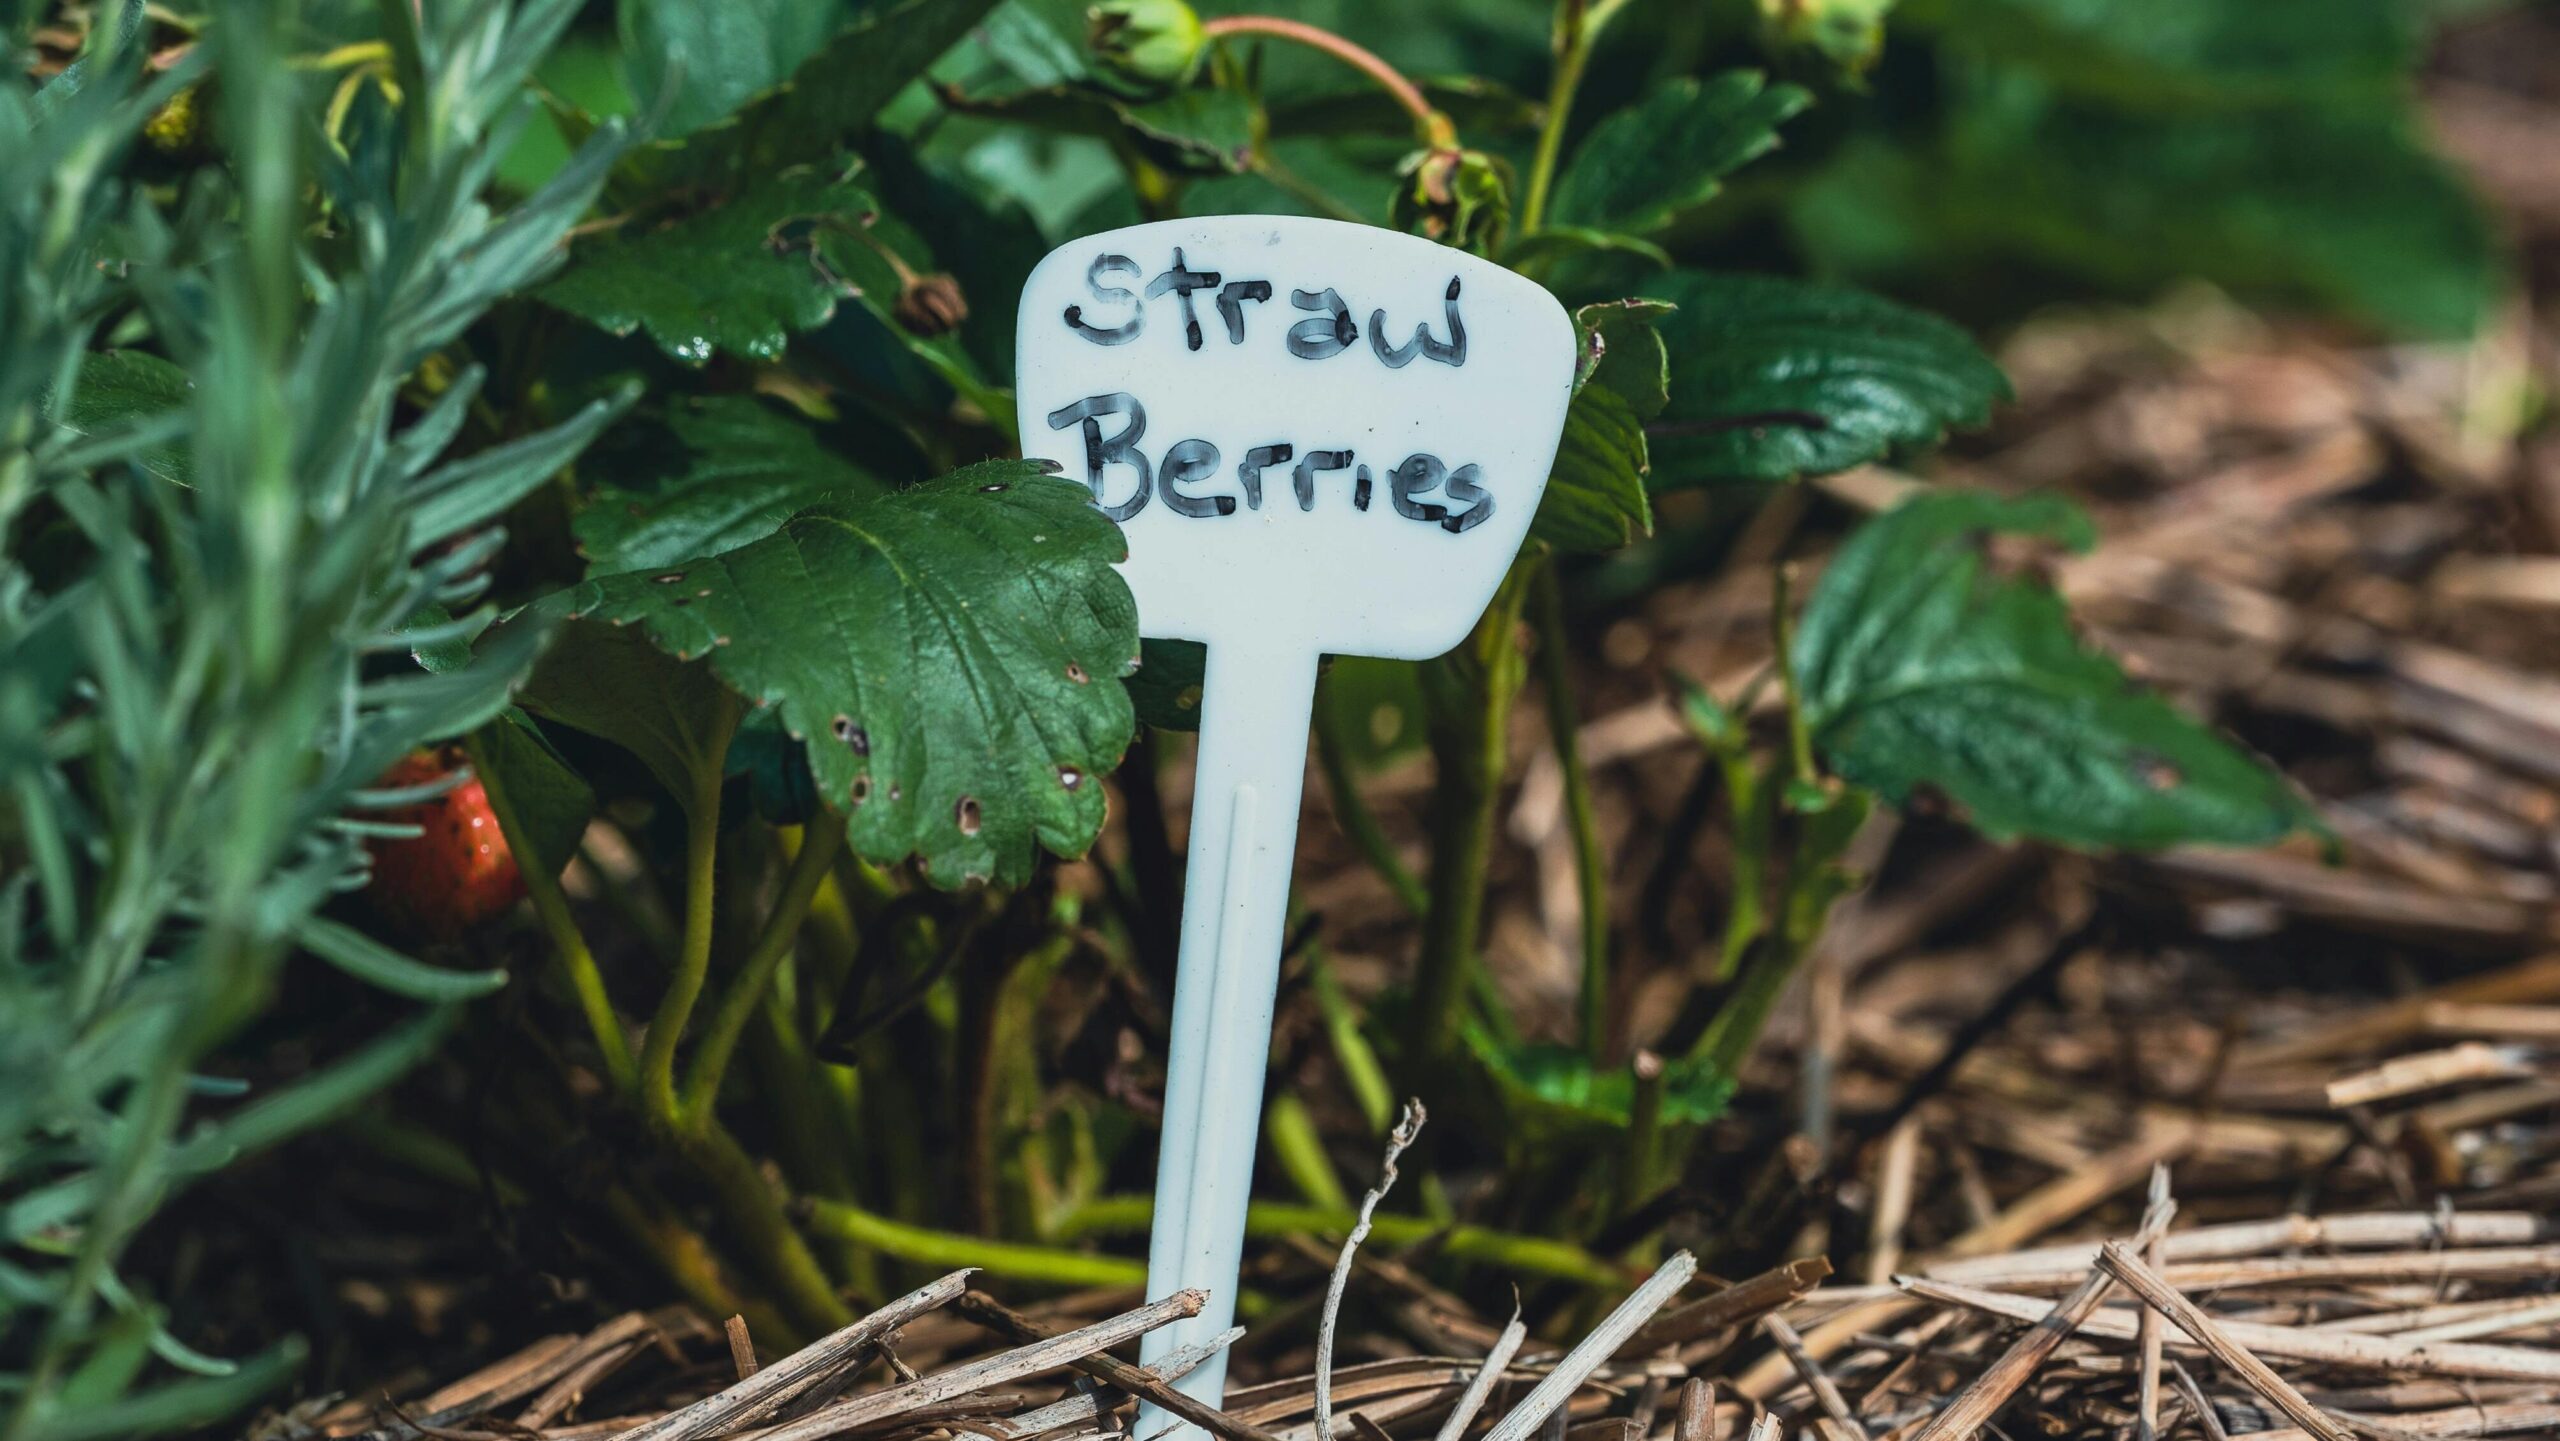
You also might want to set up some basic borders, or even a couple of signs to signal that the herbs are important, they’re growing there for a reason, and to stop folks from accidentally trampling or mowing your precious medicines-in-the-making.
If you’re brand new to growing herbs, you might want to use signs or painted rocks or some other indicators of what you’ve planted so you don’t forget. (Don’t worry, this is common even for seasoned gardeners!)
As we dig in together on this inspiring topic, I’ll cover how to design and set up your garden, and then what kind of conditions most popular herbs love, before wrapping up with some good tips on how to maintain your garden and how to put it to bed for winter.
Now, let’s get started!
How to Design and Prepare Your Herb Garden
The first step is to decide where you’d like to put your garden.
Sometimes this is a very easy and obvious decision, but other times, you’ll need to do some thinking – and sometimes get quite creative.
Most herbs and herbal flowers like sunny areas with well-drained soil. Some of them prefer shadier areas with more moisture.
Few herbs like boggy conditions, and some will absolutely perish unless they have excellent drainage.
Some also need rich soil with high amounts of organic material while others like poor soil…
But! Don’t get discouraged or start feeling too overwhelmed… just check out my post on herbs you might want to grow in your herb garden for great info on what conditions different herbs prefer. It’ll help you choose what to grow based on what conditions you’re working with!
So, look at your space through a fresh and creative lens, and feel free to imagine herbs growing in places that you may not have imagined before!
Great Places to Grow an Herb Garden
You can grow herbs in the ground in all sorts of lovely places around your living area that you might not have considered before. The goal is to grow things that bring life and health to the area, and to your family!
Don’t be put off by the idea of your space looking wilder or bushier. The beautiful textures and flowers and benefits that herbs bring to everything are more than worth it, and are more appealing to the eye than you might have ever imagined!
Here are some great areas to grow an herb garden:
Around Your Porch or Near Your House
Herb gardens are often planted around a porch or near the entrance to a home. There are some great reasons to plant so close to the house!
For instance:
- Herb gardens are beautiful! Growing one around a house is very attractive to look at from inside and outside the house! This is the heart of satisfaction to a gardener.
- Herb gardens fit into smaller spaces. Unlike vegetable plants, herbs stay relatively small, so an herb garden fits right in around walkways and entryways without taking over the space.
- The herbs are right outside the door – the essence of a kitchen garden! People like to be able to harvest fresh herbs for cooking and for medicines and teas without needing to walk very far from the kitchen.
- It’s easy to maintain an herb garden. All of the planting, weeding, and harvesting can be accomplished in smaller pockets of time within a person’s daily routine, without carrying supplies very far.
- An herb garden attracts pollinators, which are lovely! Everything from native bees and wasps, butterflies, hummingbirds, and all kinds of moths will visit the herbs throughout the day and evening. This is great for the ecosystem, and children love it, too!
On a Bank or Slope
Banks and slopes are common around homes, and they’re often just raw, exposed soil. This is both unsightly, and a constant source of erosion.
But, they can be easily and beautifully remedied by planting herbs into the bank!
Just carve out a scoop of earth, add some soil amendments if needed, and plant baby plants or direct sow with seeds. Next reinforce the disturbed area with rocks and mulch so it won’t wash away… and watch your herbs grow!
Creeping and ground covering herbs are especially useful to help reinforce banks, but most herbs will be perfectly happy growing this way.
It’s also fun to get creative and artistic about the presentation of growing herbs on a bank. Arrange them by height, shape, and color so that you can create a beautiful and textured arrangement of your herb garden.
They’ll bring all of the beauty, pollen and nectar, and medicinal benefit while also growing is space that is often wasted, while also being tucked out of the way themselves.
This is a fantastic way to include an herb garden into the landscape around you without taking up yard or walking space if you don’t have it to spare!
Around Natural or Built Landscaping Elements
Think about the elements of your space that could be improved or enhanced by planting herbs around it!
Some good examples include:
- Beside outdoor stair steps
- Along the side of ponds or streams
- Along fences or property lines
- Alongside a driveway or walkway
- Beside a structure, such as a garage, shed, or patio
Feel free to experiment with this, because adding herbs to your yard or piece of property can bring so much beauty and so much vital living space for insects, birds, and small animals… Lives that often get ignored in favor of a trim lawn.
(As an Amazon Associate, I earn from qualifying purchases.) Additionally, I am not a doctor or health physician, and the advice given here should not be used in place of professional medical advice. Please do your own research.
Other Additions to Make Your Herb Garden Even Better
Lots of features can be added to your herb garden to make it really interesting and relaxing for all the animals and insects (and people!) who visit your garden!
Some of my favorite additions include:
- Birdbaths and feeders
- Bee watering stations
- Bird houses
- Bee hotels
- Bee hives
- Edgings, fences, and arching trellises
- Walkways
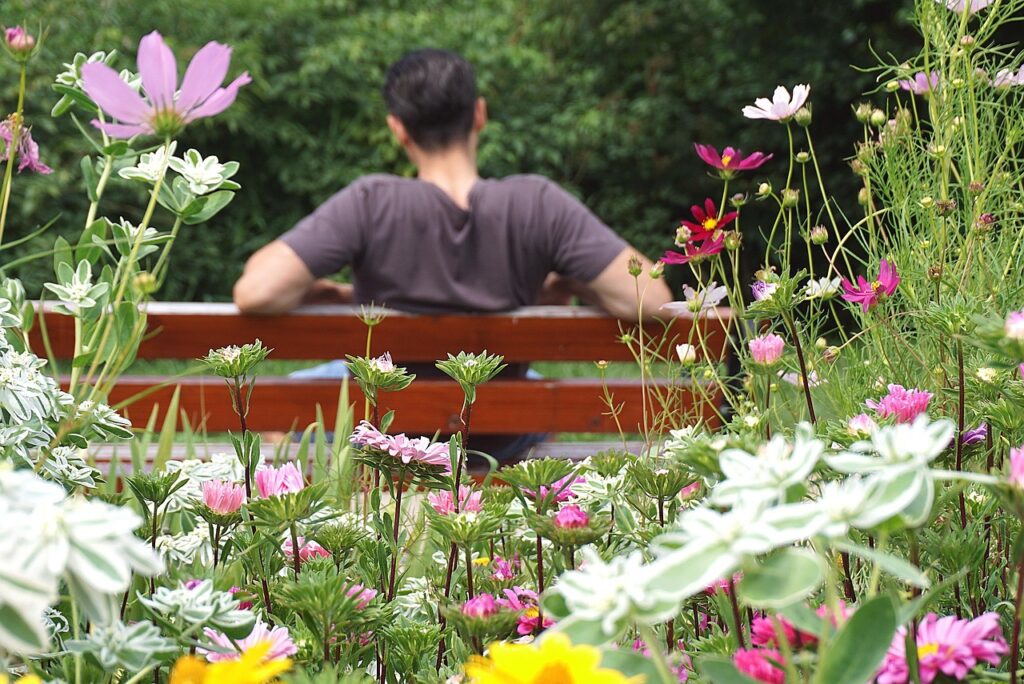
- Benches and resting places
- Fountains and small ponds
- Decorative signs and statues
- Rain Catchers and wind chimes
- Creative pots or containers for aggressive, escape-prone herbs
- A greenhouse
- Terraced beds
- Ornamental (native) trees
As you can imagine, any or all of these options can really create a beautiful, fun, and relaxing environment in your garden! While your herb garden will be beautiful and functional if it’s just a few rosemary plants growing by your porch, remember to be creative and free-spirited with your garden!!
This way, it’s a source of total pleasure, alongside its medicinal value, for many, many years to come!
How to Actually Start Your Herb Garden
Now that you have the basics roughly planned out — where you’d like to grow your garden — now it’s time to get started!
There are a few ways to do this, and there’s a chance that you’ll combine different techniques to fit your unique space.
I Advise Using No-Till Techniques in Your Herb Garden
For generations upon generations, people have grown their gardens by tilling the soil… And for many people, this tradition is hard to let go of… But… it’s time to.
No-dig works well in any kind of garden, and your herbs will flourish if you use this method!
The Pioneer of No-Till Gardening: Ruth Stout
The great pioneer of the no-till garden is Ruth Stout. Ruth was a fantastic, pragmatic lady who first brought the no-till garden into mainstream gardening with her book The No-Work Garden Book!
Her story is one of innovation due to desperation… She and her husband mulched their enormous garden in the fall with a deep layer of hay, with the intention to plough it into the soil in the spring — as is/was common practice. But, in the spring, their tiller broke down. As the season progressed, Ruth decided the gardening couldn’t wait any longer and poked her seeds down into the incredibly soft earth beneath the mulch layer.
It was an incredible success!! Not only did the seedlings sprout through the mulch layer with no problem, but she did not have the typical rush of weeds to fight with, her soil was moist and rich, and she found that by adding more mulch to the garden in the areas that thinned out, she could keep the benefits rolling!!
Instead of trying to list all of the tangible benefits a gardener can enjoy from gardening using a year-round deep mulch, I’ll direct you to Ruth’s book, which you will probably enjoy reading very, very much!
I’ll also invite you to watch this interview with Ruth!! She was truly a great lady and we are lucky to have a recorded video interview with her in her older age.
Now, no-till does not mean that you can’t dig a hole to plant in. Nor does it mean that you have to deal with grass and other plants you don’t want in your garden… What it does mean is that you don’t turn large patches of earth and leave them uncovered.
This may sound new or odd to you, but there are so many pros to use no-dig methods, and so many cons of turning the earth in your garden.
Let me go over them briefly here!
Pros of No-dig Gardening
- It’s easier than traditional gardening!
While I’m not one to cut corners or do things for the sake of convenience or low effort, the plain fact is that no-dig gardening is much easier. It’s easier on our bodies, our tools, and our budgets. - Your soil is constantly amended with a steady source of organic compost!
In order not to till, you need to cover the earth with a layer of organic mulch, instead! As it decomposes, and the earthworms throw a party underneath, all of that lovely, organic, nitrogen-dense material breaks down and mixes with the dirt. This gives you the best, most nutrient-rich soil you could ever want! - Your soil maintains a constant, optimal moisture level!
Not only does the mulch layer act as a sponge, absorbing and retaining water for the soil… it also protects the soil from drying in the sun and wind. This steady moisture works so well, your garden can weather a drought with nearly-to-no extra watering. - The microbiology in your soil thrives!
Healthy soil hosts an entire web of life that humans cannot see! From worms and other small invertebrates, to microorganisms, to funguses, there is an entire ecosystem that needs to remain undisturbed and moist to survive. (Earthworms LOVE a mulched garden and will come to live in it in droves!!) In a constant mulch, these requirements are met to perfection — and your herb garden will show it! - Weeds struggle to take over your garden!
When weeds are mulched over, the sunlight they need to live is blocked out. They will die within a couple of weeks and decay into the soil along with the rest of the mulch. Whenever they do pop up, it’s easy to pull them in from the soft and fluffy soil below, or you can simply pile more mulch on top of them and deprive them of the life-giving sunlight. While weeds may not be totally eliminated, pulling/smothering a few is a far cry from the non-stop battle that most gardeners face every year.
Cons of Tilling or Turning the Whole Garden
- Turning the soil – whether manually or with machines – is often hard labor.
If you’ve ever tilled up the soil or turned it with a shovel, you know that you’ll be tired, and often sore, by the time you’re done. (On the other hand, heavy machines compress and compact the soil, destroying the critical soil structure that the life in the soil has created through natural living processes.) - Soil structure and ecosystems are totally destroyed.
If you imagine a huge metal blade scraping across an entire neighborhood, then you have a basic idea of what tilling does for the soil structure — and the life living in that soil — when you till or turn it. Not only are essential passages and lives ripped apart, but the essential fungal networks that spread through the soil like a web are chopped to pieces. Turned or tilled soil takes weeks or months to recover. - Turned soil is exposed soil.
When soil is exposed in large patches, not only is the life living in it destroyed physically, but as the soil dries out, it becomes uninhabitable for all life. The exposed soil immediately begins to erode from water or wind exposure… And when water is added, heavy clay soil is prone to drying back out in hard bricks that are nearly impossible to break up. Earth that is loose or sandy will simply wash away as the water drains and then dries out again. It’s a lose-lose-lose scenario. - Weeds will quickly colonize and out-compete most of your plants.
If you’ve ever tried to garden in a tilled or turned be, you know that unwanted plants will immediately begin sprouting up over the entire surface of the soil… including around and amongst the plants you’ve planted on purpose. Many of these plants are aggressive and will out-grow your plants, while taking any available water and nutrients for themselves. - You have to work REALLY hard to maintain the bare-soil garden.
When soil is turned, weeds show up. If you don’t want the weeds to take over, you have to till, hoe, and pull them nonstop… it’s an endless effort that often makes gardeners approach the work as a battle against nature. And, it’s a self-defeating cycle, because every time you clear away the weeds, the disturbed soil is immediately covered in germinating weeds all over again.
How Do I Start a No-Till Garden?
You’ve probably got a good idea of what to do from the bullet points above, but, for a step-by-step guide, here’s how you start a no-till garden from scratch!
Good Options for Mulch Material
To prepare, you’ll need a large supply of the organic material you want to use to mulch the surface…
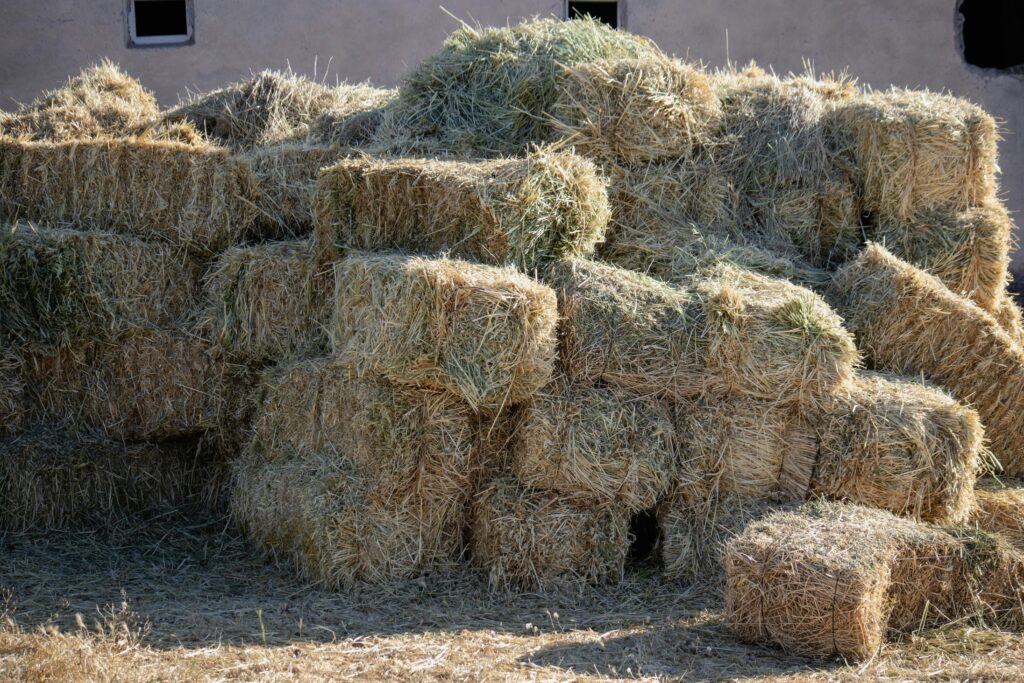
Do everything you possibly can to avoid mulches that have been sprayed with any herbicides, as they will cause strange deformations of your plants, or kill them outright, and will stay in the soil for years to come. Hay or straw sold at big box stores and home improvement stores are almost always sprayed.
Hay or straw are great options because they have fantastic moisture retention and will break down quickly enough that the organic material is available to plants and microorganisms in a timely fashion. (Hay will often have grass seeds in it, but as soon as you see any germinated seedlings, cover them with enough hay to block out the sun and they will die.)
Dried leaves are also fantastic. If you rake your leaves, or if you want to collect them in the fall, do so, and simply spread them onto the garden. Leaves can mat together, so you might want to chop them up with a weed eater or by running over them with a lawnmower, but you don’t have to.
Any other organic material that you may have in abundance will also work…
However, the product labeled “mulch” that you’ll find for sale is usually chipped up wood… it does not have the water-retention power of softer, finer mulches, and it takes a very long time to decompose… this type of mulch is best around trees and shrubs. Pine straw is also better used around woody plants, as well.
DO NOT USE landscaping fabric or plastic sheeting. I know it seems tempting… but it does not work.
Weeds and grass have an uncanny ability to grow on top, and their roots will penetrate the fabric into the soil below. Over time the fabric will begin to break down. Not only will this release billions of microplastics into your garden and surrounding ecosystem, but you’ll also have the tedious job of trying to remove it in scraps as it deteriorates.
A much better (and common) choice if you want to put a layer of something down before you mulch is to use plain brown cardboard… However, this is not necessary because a thick enough layer of mulch will do just fine.
If you want to amend your soil as you plant, seek out (or make) a good-quality compost, worm castings, or other organic soil amendment!
Watch this awesome video by GrowVeg for advice on how to amend your soil naturally and give your garden the powerful boosts it needs all year round!
Starting a No-Till Garden Step-by-Step
- Try to start the garden in the fall before you want to plant.
Starting a garden in the fall before you want to plant takes foresight and pre-planning, but it is the easiest way to do it! The second-best time to start is right now! - If it’s growing-season and you want to start a no-till garden, get started!
It’s absolutely natural to decide to start an herb garden in the growing season. If that’s you, but you haven’t mulched anything yet, don’t worry!
Just dig holes or small beds for each plant in your garden, amend the soil with a good-quality compost if you want/need to (and add sand or pebbles for the herbs that need excellent drainage), plant your plants or sow your seeds, and mulch around the area well. You can add light mulch, like fine organic grass clippings, over baby seedlings as they emerge as long as you don’t smother them out.
You can also mulch the area first and wet it thoroughly, and then direct-sow seedlings into the mulch if you want to. This works really well because the mulch will stay moist enough for the seeds to germinate well, while also suppressing weeds that might try to sprout up and compete with the seedlings. It is also really easy for teeny-tiny herb seeds to sprout in the soft bedding of mulch! - Water the first mulching very well.
The mulch layer will retain moisture well, but it needs to be watered very well when it’s first put down. If it’s not raining where you are, be sure to hose it down. Drip irrigation hoses are also useful to some folks, and if you want to use them, there’s no harm at all! - The mulch will seem to “disappear” as it breaks down and the worms naturally till it into the soil layer, so you’ll need to replace it over time.
This is no biggie! To start out, you’ll want to add a deep layer of 6-12 inches of mulch. This will settle down to a 3-4 inch layer that will last for a few months. As it begins to thin, you’ll notice. You might see weeds popping through or even notice bare patches of earth. Re-mulch these areas (hopefully before the earth shows through) as often and as deeply as you need to.
No-Till Gardening FAQs
Here are some questions you may have about no-till gardening:
How Deep Does My Mulch Need to Be?
Start with a mulch layer of 6-12 inches. This may seem excessive at first, but the layer will settle down in the first week or two, and will even out at a nice 4-6 inch layer. Also, the deeper you mulch on that first round, the longer it will last and the better foundation you’ll have. And, it’ll hold a steady moisture level for that much longer!
Are Mulched Herb Gardens Ugly?
Well, this is definitely based on your opinion, but no-till, deep-mulched beds are actually rather nice. Your herbs will look especially lovely in their beautiful varieties of colors and textures, set against the muted, honey-tan color of the mulch around them!
Also, grass and other wild growth around the garden seems to magically stop at the mulch line, meaning your herb garden is tidy and weed-free nearly all the time. (They are much nicer than a bare, dry, cracked, weedy garden, for sure!)
Could I Use Stones or Wood Chip Mulch in Pathways?
Personally, I would avoid using stones or gravel in my herb garden because they absorb and release a lot of heat. If you insist on using them for pathways, that’s entirely up to you, and they do look nice. But don’t use pebbles or gravel in place of your mulch. (An exception would be if you’re making a rock garden, of course!)
Instead, I would suggest using flat river rocks or steppingstones to make a pathway, and mulch around them. It’s also very beautiful to allow a ground covering herb like Creeping Thyme to cover the spaces in between!
Wood chip mulch would also be nice, though I’d personally not use the kind that’s been dyed an unnatural color. (I’ve also heard using wood chip mulch encourages termites, but I’m not sure that’s really a huge threat, or a bad thing, really.)
Do Mulched Gardens Need Any Edging?
Not necessarily. If the layer is thick enough, especially at the edges, the grass or weeds will not be able to encroach. And, the mulch looks rather nice on its own. But there is no limit on your creativity or sense of aesthetic beauty, as long as your edges don’t harm the environment in or around the garden. Feel free to use plastic free pre-made edgings, or to use glass bottles, wooden or bamboo stakes, fences, or any other edging that pleases your eye!
If you’re not worried about looks so much as functionality, you can place hay bales end-to-end around your garden to keep the edges solid, function as a makeshift wall around your herb garden, and to provide a constant source of refill-mulch that’s always easy to hand.
I Found a Bunch of “Spoiled” Hay Bales… Can I Use Them in My Herb Garden?
Yes!! You can absolutely use hay or straw bales that are wet, rotting, moldy, or unfit to feed to animals! This is the decomposition process the mulch will go through on the ground anyway, and this hay simply has a jumpstart ahead of fresh bales…
You can also usually take any spoiled hay off of somebody’s hands at a very reduced price (but still a profit instead of zero at a loss for them) and give them something to do with the bales that would otherwise become a space-stealing waste for that person if you hadn’t bought it.
It’s Springtime and I Want to Go Gather Leaves from the Woods… Is that Okay?
Ummmm, actually, no. This is a pretty bad idea. I’m so sorry. 🙂
In the fall, when the leaves are freshly fallen, they’re easy to gather in piles… By the spring, they’ve decomposed and matted down, making them very hard to gather in amounts large enough to use in a deep mulch without a lot of hard work.
But, more importantly, by the spring, the leaves are serving as home and habitat for all sorts of tiny insects and microorganisms… life-forms that are desperately clinging to vanishing habitat as it is.
So, even if it’s later in the season and you’re pretty sure everything has hatched or pupated… that’s a misleading frame of mind.
Those leaves are now habitat, and the tiny life cycles are turning in them. Even if you are just going to dump them, and not, say, burn or trash them, you’d still be raking up and destroying an entire layer of life on the forest floor.
Either gather them in the fall when they’re freshly fallen… or don’t use leaves this year.
How ever and wherever you decide to grow your herbs, don’t forget to have fun!! Herbs are beautiful and rewarding to grow, and because you don’t have to wait on them to fruit, they’re almost always available for you to use in your kitchen or home apothecary!
I, personally, LOVE my herb garden and have enjoyed the most sublime satisfaction watching my herbs mature and the spaces around my home become more and more beautiful every year!
I also LOVE all of the bees, butterflies, stinging insects, and native pollinators and other visitors that enjoy my garden. I love to know that in a world that is stripping natural habitats too fast, my little garden is one of many oases of clean, organic, safe, and friendly spaces that they can rely on for living, feeding, and breeding space at any time of the year!
I truly hope you are excited to start your own beautiful herb garden — especially using no-till methods!! If you’ve already started, keep going!! Gardening of any kind is truly one of the gateways to a great life, and I hope you’re channeling that energy with so many of us who are turning away from toxic lifestyles in and around our homes!
Also, if you have any ideas to add on the topic of growing herbs in the ground, please leave them here! I’d love to hear from you, and I might just make a post around the tips, tricks, or insights you have to offer! Join the conversation!!
Much love and happy gardening,
Cariel! <3
Leave a Reply