
Hey there Friends!!
It’s another great day for healthy, green living!!
Today, I want to talk about extracting the essence of healing plants via distillation!
Distillation is the process where you boil something, capture the steam, and cool the steam back down into a liquid.
In this case, we’re talking about distilling the volatile oils, also known as essential oils, from plant material. Distilling is a wonderful skill to learn because it allows us to capture and concentrate the medicinal properties of the herbs.
(As an Amazon Associate, I earn from qualifying purchases.) Additionally, I am not a doctor or health physician, and the advice given here should not be used in place of professional medical advice. Please do your own research.
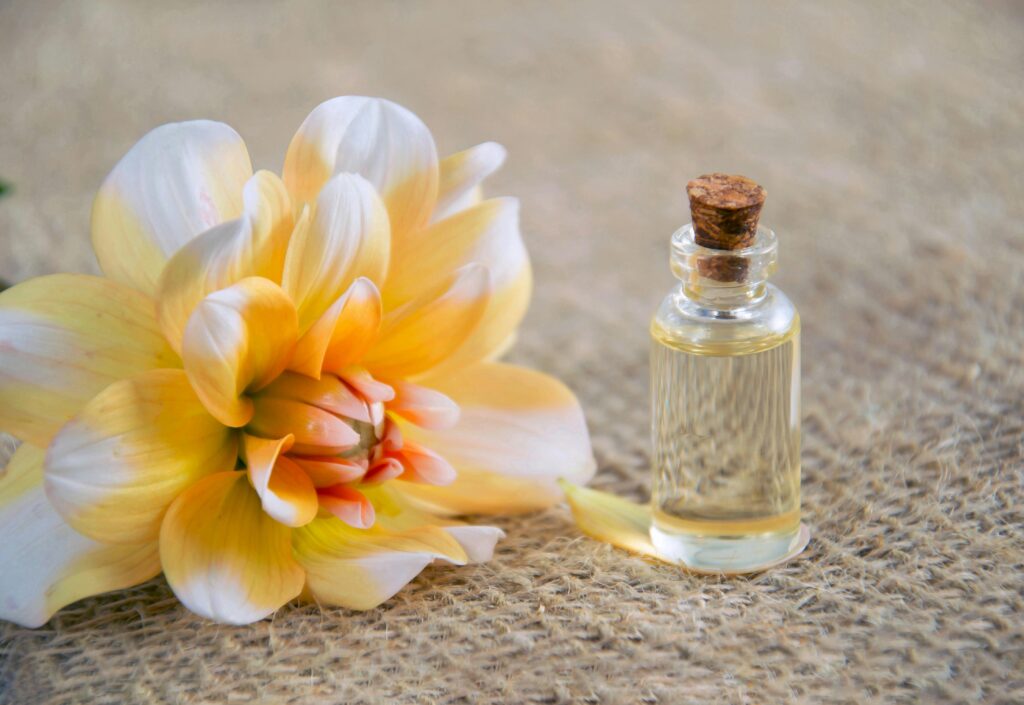
Essential Oils vs Hydrosols
You may’ve heard of both essential oils and hydrosols. You may wonder what’s the difference between them and how they’re related.
The simple answer is that they are two parts of one whole that are created when we steam and distill fresh herbs.
When herbs are steamed using clean water, both the hydrophilic (water soluble) and lipophilic (oil soluble) components of the plants are expressed from the plant tissues as the steam passes through them.
The steam carries these components away with it, so when it condenses back into a liquid, it now is water that also contains the essences, including the oils, of the herbs that were steamed.
As this infused water cools, the oils separate from the water and rise to the surface of the liquid. The oil is often separated from the water and bottled.
This oil is the essential oil of the herbs that were steamed…
However, the water that is left over a is not just plain water – it has the water-soluble elements of the herbs in it, as well as a tiny amount of essential oil suspended in it that did not float to the surface of the water.
This water is known as hydrosol!
So, when you use distillation to extract the essential oil from an herb, you create a hydrosol too.
In fact, as you process herbs by distillation yourself, you’ll find that herbs only contain a small amount of oil in their tissues. When you process a large amount of plant material, you end up with a teeny amount of essential oil and a large amount of hydrosol.
(Up until recently, the hydrosol was considered a byproduct of essential oil extraction and was thrown away! Now we know better!)
One important thing to note:
Hydrosols do not need the essential oil layer to be removed. If you distill the steam from steaming herbs, the liquid that condenses is hydrosol. You can simply collect the herbal water that comes from the distiller, and have a very high-quality hydrosol in your jar.
While it’s very neat and useful to collect your own home-distilled essential oils… if you don’t remove the teeny amount of oil that rises to the top, the hydrosol will be that much richer in the herb’s medicinal properties.
The highest-quality hydrosols are made in distillers made from copper and glass components.
(As an Amazon Associate, I earn from qualifying purchases.) Additionally, I am not a doctor or health physician, and the advice given here should not be used in place of professional medical advice. Please do your own research.
Warning:
Hydrosols may be called floral water, too, but those are often essential oils mixed with water. These are not the same thing as hydrosols, and do not offer the same benefits as genuine hydrosols do. When you buy “floral water” know that it is very likely not a genuine hydrosol.
What Are Hydrosols Used For?
Hydrosols are wonderful because they offer you a gentle, safe, effective complement and companion to essential oils… without the risks from the potent concentrations of the oils.
(This is not to throw off on essential oils, as their potency is essential when strength and high concentration is warranted, especially in making homemade medicines and wellness products at home!)
Hydrosols are really useful because they’re water based, already diluted to safe levels, and easy to use. You can also combine different hydrosols to get the exact mixture and benefits that you need!
Great Ways to Use Hydrosols:
(As an Amazon Associate, I earn from qualifying purchases.) Additionally, I am not a doctor or health physician, and the advice given here should not be used in place of professional medical advice. Please do your own research.
These are just a few suggestions to get you started using hydrosols. I’ll also add a few suggestions of the kinds of hydrosols that work well for each use, but these are the bare minimum! Anything you’d use an essential oil for, you can use the hydrosol from that oil distillation as a gentler alternative, so be as creative and inventive as you want to be!!
Also, remember, you can combine hydrosols to make your own perfect mixtures for whatever and whenever you want to use them!
Hair rinses and sprays:
Giving your hair a boost with the healing power of herbs is the secret to long, lush, thick, strong hair. Hydrosols provide that boost without the oil component weighing your hair down. Hydrosol applied to hair can be used daily, as many times as you need, and will easily absorb into your scalp, hair follicles, and hair strands. Some of the excellent hydrosols to use on your hair are rosemary, mint, and lavender. For more information on using herbs to grow healthier hair, read all about it in this post!
Cleaning Solutions:
There are many herbs that offer fantastic antimicrobial properties that you’d want to put to use around your home! Hydrosols work great for this because you don’t have to worry about using a mixture to emulsify oils into your cleaning solution, they won’t clog up a spray bottle, they’re safe to use around children and pets, and they smell great! The best germ-killing hydrosols to use in household cleaners are oregano, thyme, and lemon.
Skin Care:
If you want to use the healing power of herbs on your skin, hydrosols are a wonderful vehicle to do this! You can spray hydrosols directly onto your skin, including your face and other sensitive areas, safely. You can use hydrosols as a toner, you can treat sunburns and rashes with them, you can add them to your bath for a relaxing and healing soak. You can even use them as makeup remover or in DIY face masks… Really, whatever application you can think of, hydrosols are the way to go! Great hydrosols for your skin include calendula, lavender, mint, cucumber, chamomile, and rose.
Bug Repellent:
Bugs are driven away by some herbs, and by spraying the hydrosols distilled from those herbs, you can avoid needing to use pesticide-laden bug sprays on you and your family’s skin (and keep those poisons out of the environment, too!) Some of the most effective bug repelling hydrosols are lavender, citronella, eucalyptus, and lemon thyme.
Aromatherapy:
If you need a way to freshen up the air or create relaxing and healing environments around your home (or other places you spend time, like the car), hydrosols offer you a great way to do that without using dangerous air fresheners! Because they’re water based, you can safely spray them on your bedding, linen, furniture, wooden surfaces… basically everywhere! The hydrosols won’t leave oil stains. And, while the heat of washing and drying laundry in essential oils will destroy the scents you’ve used (unfortunately) you can use hydrosols and get all of the aromatherapeutic benefits of the herbs that way! Great hydrosols for aromatherapy are lavender, citrus (orange, grapefruit, lemon), and frankincense.
In food and drinks:
You can absolutely add hydrosols of some herbs to your refreshments to give them the additional kick and health benefits of those herbs! Consider adding mint and citrus hydrosols to a cool drink, or use hydrosols of your favorite cooking herbs like thyme, rosemary, or oregano to your recipes!
How to Extract Your Own Essential Oil and Hydrosol from Herbs at Home
Distilling essential oils and hydrosols from your herbs at home is easy to understand, and pretty simple to do.
(It’s also pretty fun and exciting to set up your own little mad-scientist project combined with the wholesome experience of harvesting fresh herbs from your herb garden… There’s so much connection when you make your own herbal remedies – from seed to finished product to real healing. This truly is the stuff of a good life!)
You can set up a very simple DIY distilling system in your kitchen using regular cooking equipment…
Or you can make a distiller yourself…
Or you can buy a distiller.
For people who want the very best equipment or operate in larger amounts, there are some really nice extraction kits specifically designed to make essential oils and hydrosols.
No matter which method you use (as long as you don’t scorch your herbs by accident!) remember that hydrosols are simply the water component of the steam after the oil is separated, so all of these methods create high-quality hydrosols by default.
I’ve picked video to share with y’all because it is excellent. It’s a great example of a distiller and gives fantastic information about the whole herbal distilling process. I highly encourage you to watch it. I’ll also give you a written step-by-step guide below.
Enjoy!
Herbal Distillation: Tools and Instructions
No matter what type of distillation set up you choose, you’ll need the basics:
- A Hot Plate or Stove Eye – you need a heat source that you can regulate. You want to get the water in your system hot enough to create steam, but you don’t want to boil it hard. Ideally, you’ll be able to maintain a nice simmer. (If you’re able to fine-tune the heat and want to distill outside over an open flame, go for it!!)
- Clean Water – You can buy or make distilled water, or you can capture clean rain water to use in your distilling system. (If you want to distill your own water, set up your distilling system and just process the plain water you have available. The video farther down is a great resource.) It’s best not to use treated water on your herbs, though, so only use tap water if you have well water that isn’t very high in dissolved minerals.
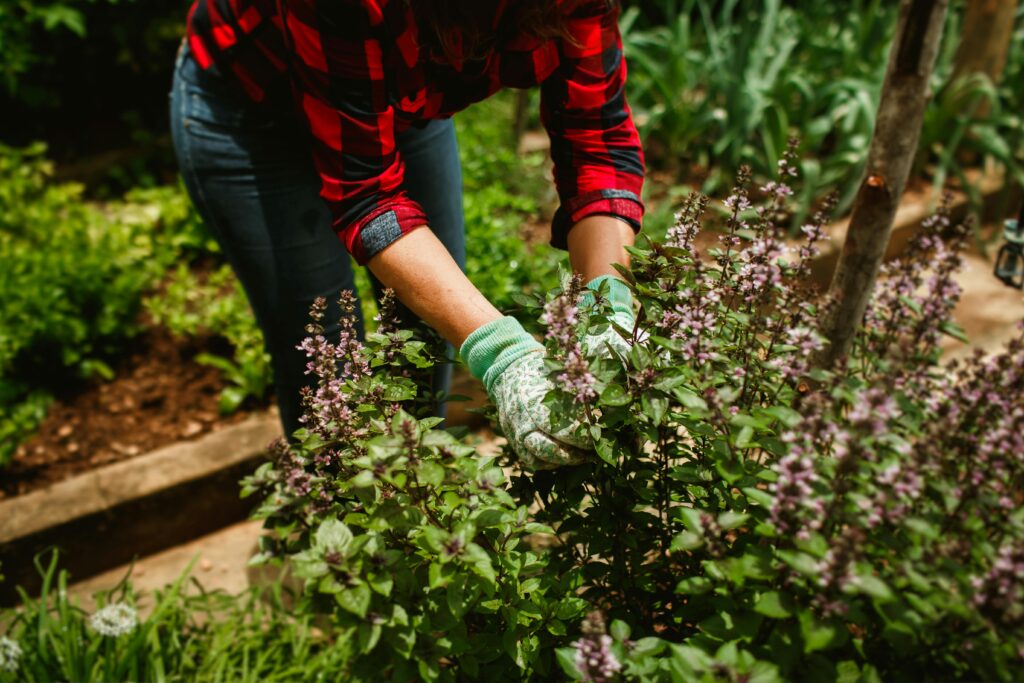
- Fresh Herbs – Through out a 24 hour cycle, nutrients, water, oils, and energy move up and down a plant from the roots to the tips of the leaves and back in a repeating cycle. The oils are concentrated in the leaves of a plant first thing in the morning, before the sun hits the plant and photosynthesis begins for the day. So, for peak oil extraction, harvest your herbs first thing in the morning.
Also, as described in the video above, freshly cut herbs work really well, but if you let them wilt, the wilting process will concentrate the oils even more. So, if you have the time, allow the herbs to wilt before processing them.
Dried herbs are not usually used to make hydrosols. - Glass Collection Bottles – If you only want to collect the hydrosol, you won’t need any other storage container, but if you want to separate the essential oil from the hydrosol, then you’ll need some little colored glass bottles to hold it, too. Either way, use mason jars (or even glass gallon jugs) to hold the hydrosol.
- A Pipette or Essential Oil Separator – If you want to collect the essential oil from your plants, separate from the hydrosol, then you’ll need a way to collect and bottle it.
Setting Up Your Distiller (or “Still”)
To distill a liquid, you simply bring it to a boil, collect and direct the steam that comes off of that liquid to a cold location where it will condense from a gas back into a liquid, and capture that liquid.
It’s simple physics, and even very simple DIY systems collect high-quality end-products.
Quickly, I’m going to go over a few distilling setups, from a very simple kitchen system to the basics of a premade distilling system. I’ll also include a video of a DIY homemade distiller for any handy-folks who’d like to go that route!
Distilling with a Pot, Glass Lid, and Bowls
To distill oils and make hydrosols using your regular kitchen utensils, you’ll need:
- A Large Pot with a Glass Lid
- A Glass Bowl that Fits into the Pot
- A Stand – Something to Lift the Glass Bowl Off the Bottom of the Pot
- Herbs – fresh, wilted, or dried
- Ice
Directions:
Set your pot on your heat source (but do not turn on yet).
Set your “stand” item in the bottom of the pot. This can be a small ramekin, a small heatproof bowl, some canning rings, a steamer basket… whatever you have that is heatproof and lifts the bowl 1-3 inches off the bottom of the pot. This is important because a glass bowl can shatter if it’s in direct contact with the heat at the bottom of the pot.
Place the glass bowl on the stand.
Place your herbs around the stand in the bottom of the pot. If using fresh or wilted herbs, loosely pack them around the stand until level with the bottom of the bowl. If you’re using dried herbs, fill the pot around the stand with the dried material until halfway to the bottom of the bowl.
Pour water over the herbs up to the bottom of the bowl.
Put the lid on top of the pot upside down. Then pile ice on top of the lid (which will be the underside of the lid, facing upward toward the ceiling.)
Turn the heat to medium-high and bring the water to a strong simmer. Maintain this strong simmer but try not to let it boil.
Turn off the heat when the liquid is pretty much gone from the bottom of the pot, and don’t scorch the herbs.
Take the lid off carefully.
The glass bowl inside the pot should be filled with liquid. This is your hydrosol!
Now you can choose if you want to collect the essential oil that rises to the top or if you want to just bottle the hydrosol as-is!
This setup works because as the water simmers, it evaporates as steam. The steam rises to the top of the pot and hits the cold lid. This cold surface causes the steam to condense into water droplets. The droplets slide down and drip off of the lid’s handle where they collect in the bowl.
Use A Distiller Designed for Hydrosol and Essential Oil Collection
Distillers come in a variety of sizes – from just a few cups’ capacity to a couple of gallons. Your specific system will come with instructions, but they all work using the same principals.
Don’t be discouraged by the “science lab” appearance of these apparatuses. They’re easy to use and how they work makes sense once you understand how distillery works, and what role each piece plays in that process.
(They also can look really pretty with their herbs and their glass and copper components!)
To distill essential oils and hydrosols with a prefabricated distiller, you’ll need:
- A Distiller
- Herbs – Fresh, Wilted, or Dried
- Clean Water
- Ice
- Storage Containers
- Separate Large Water Container and Water Pump (optional)
They’ll have a large pot or chamber that you fill with your herbal material and water. You’ll still need to provide the heat source.
There will be a hose or hollow tube that leads to a condensing mechanism. Often this will be a copper coil, or it might be a glass chamber that is designed to slow and cool the steam.
From here, the steam will condense for collection. Depending on your setup, this collection device may be built into the distiller, or you may need to catch the condensed liquid in a cup or container.
If you need to catch the condensed liquid yourself, be sure to use glass.
This liquid is the oil-rich hydrosol!
From here, you can either allow the essential oil to separate from the liquid and collect it, or you can keep the hydrosol with the oil in it. If you decide to keep it, you may need to shake the hydrosol before you use it to disperse the oil into the liquid again.
Note: If your setup includes a condensation coil, it will need to be kept in cold water (usually by adding ice) to cool the steam enough to condense back into a liquid form. You can do a couple of things at this step.
You can use plain cold water, but it will heat up very fast from the heat of the coil and will not work to condense the steam for very long. You can add ice to the water, and when it melts, dip out the water and replace the ice again. This will melt the ice very quickly, so make sure you have plenty of ice… like a couple of bags of it. If you depend on your home freezer’s ice machine, you will probably run out of ice!
Most people get around this by using a small-but-strong water pump to circulate the cold water. Usually, this pump system needs to be purchased separately. For larger systems – one gallon or more – a small pump is not strong enough to work.
Using a second, big container of ice water, and by adding ice to the container holding the coil, they will use one hose to pump cold water into the coil container and another hose to pull the hot water out and dump it into the big container of ice water where it can cool back off.
This system keeps ice cold water circulating around the coil continuously and prevents the ice water from melting/heating up too fast – greatly extending how long the ice lasts and keeps nice and cold!
Making Your Own DIY Distiller
This is not that difficult, especially for the handy-folks among us! It’s a great way to repurpose old pressure cookers, and can be made with some basic materials.
To explain this, I’m going to share a video by Great Lakes Country so that you can see how and why this system works. I really love this video because it’s focused on making distilled water, and because the creator looked at many different commercial and homemade distillers to make his own design.
I hope after watching it that you’ll feel totally confident in making your own distiller, if you want or need to, with the things you might already have on hand!
How to Store Hydrosols
Essential oils are generally shelf stable because the antimicrobial properties of herbs keep bacteria, viruses, and molds from growing. Usually to store your essential oils, all you need to do is keep them in the cool in dark amber (brown), green, or cobalt (blue) bottles… Basically just keep them out of heat and light.
Hydrosols are different. Because they’re water based and have much lower concentrations of the herbs’ antimicrobial properties, they can spoil faster.
(Generally, hydrosols can last up to and over a year – sometimes up to two years if the pH of the hydrosol is high enough – but this is still a shorter shelf life that that of essential oils, which last a very long time when stored well.)
The oxygen in air will also oxidize the chemical compounds in the hydrosol very quickly.
But don’t stress! To keep your hydrosols fresh, there are a few things you can do.
- Store hydrosols in the refrigerator or in a very cool, dark place. The cold will keep microorganisms from growing in your hydrosol and spoiling them too quickly.
- Store hydrosols in dark amber, green, or cobalt glass bottles or jars. Whether you decide to collect the essential oils or not, it’s common to end up with a quart or more of hydrosol from a single run of a distiller. Make sure you’ve got containers figured out before you distill anything.
- Transfer hydrosols to smaller containers to minimize headspace. Headspace is the air above the liquid in a container. The oxygen in it will start breaking your hydrosols down quickly. If you have a big jar of hydrosol that’s half empty, switch it to a smaller jar so there’s no headspace to oxidize it.
Are you super-excited to use hydrosols in your home and life?! I hope so!! These all-natural herbal waters are absolutely fantastic!!
I also hope this article has given you the confidence to distill your own hydrosols from your own home-grown herbs!! There’s so much value to your health and wellness to grow the plants you need and make foods and medicines from them yourself!!
If you’ve made your own hydrosols already, and maybe even collected the essential oils from them yourself, please leave a comment with details, and any tips or tricks you may have to share! I read them all!!
To your beautiful garden and great health!
Love,
Cariel
Leave a Reply