Welcome Friends!
I’m so excited to embark on the first installment of my Herb Garden Series!! I hope you’re hopping to grow beautiful and healthy herbs that will keep ourselves and our loved ones healthy and happy for years!
If you already know which herbs you’d like to grow, that’s great! If you aren’t quite sure, don’t worry, I’ve made a post all about medicinal herbs to grow yourself!
This post is all about the pros and cons of growing herbs in containers. Whether you’re growing an all-container garden or just need to have a few growing about in your in-ground garden, this post is packed full of information that’ll help you out!
So, without further ado, let’s dig into the delights of starting a container herb garden!
(As an Amazon Associate, I earn from qualifying purchases.)
The Pros of Growing Herbs in Containers
Herbs are easy to grow in containers, and lots of people choose to grow them this way for a variety of reasons…
Containers Give Lots of Bang for an Easy-to-Move Buck
Thanks to the strong flavors, compact size, and medicinal potency of herbs, even one single plant in a small pot can yield a tremendous amount of use! This means that even a small, potted herb garden can create lots of medicines and remedies with low start-up costs and low input!
If you’re more interested in always having fresh herbs on hand in the kitchen to use for seasonings or for herbal teas, that is definitely a fantastic reason to grow herbs in pots.
And of course, they’re so beautiful and smell absolutely fresh and lovely!
Which leads to my next point: the aesthetics and convenience of container-grown herbs…
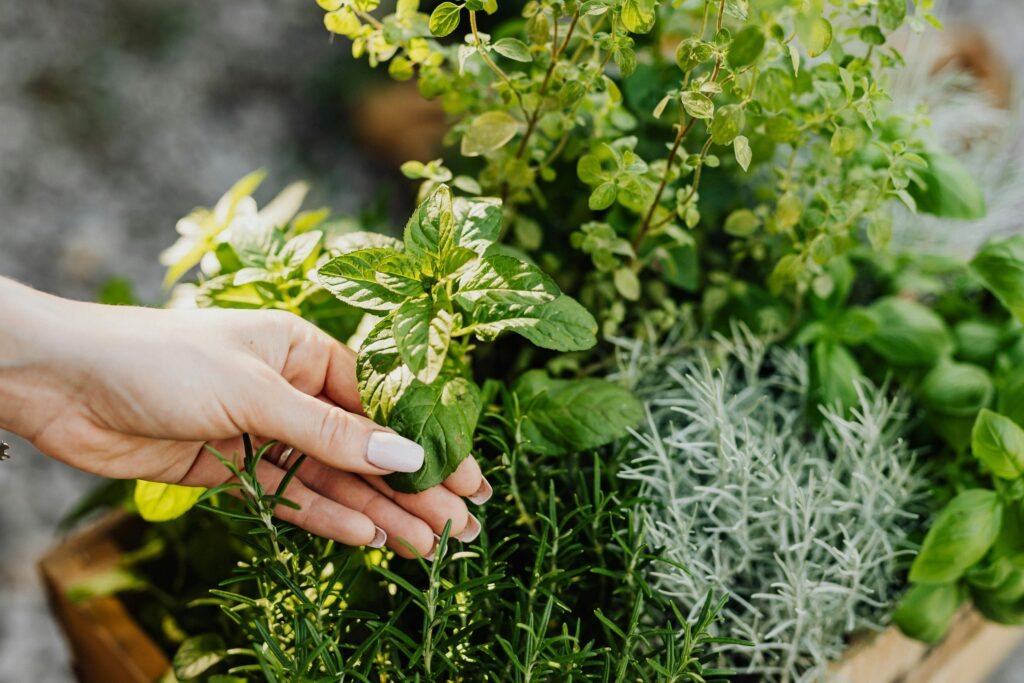
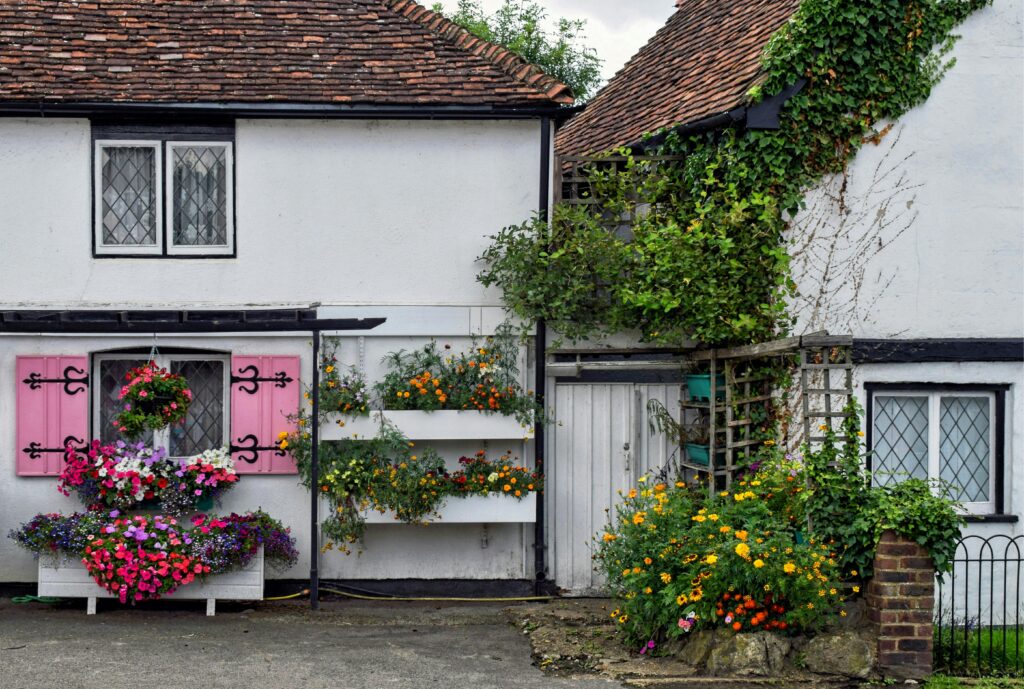
Herbs are BEAUTIFUL. They have beautiful shapes, textures, and shades of green, and they bloom the most beautiful flowers of all colors and shapes, too… and the entire plant tends to smell simply divine!
In short, herbs bring such life and color to a space, even a tiny space.
And, they’re so portable if you grow them in pots!
Whether you’re trying to keep them in the right sun/shade conditions, bring them inside for the winter, use herbal arrangements for lovely decor, or just want to rearrange your potted indoor herbs, the ability to move things around easily is a huge benefit of growing in containers.
Outside, this mobility can be more difficult because a large container can get extremely heavy… but you can still rearrange them if you need.
Containers Help You Manage Your Herbs and the Soil they’re Growing In
Some herbs are notorious for creeping far and wide. While it’s simply the way they grow, and there’s nothing inherently wrong with it, some herbs will take over other beds, your yard, even sprout between the cracks in concrete.
This is where the “container” portion of a container garden really comes into play.
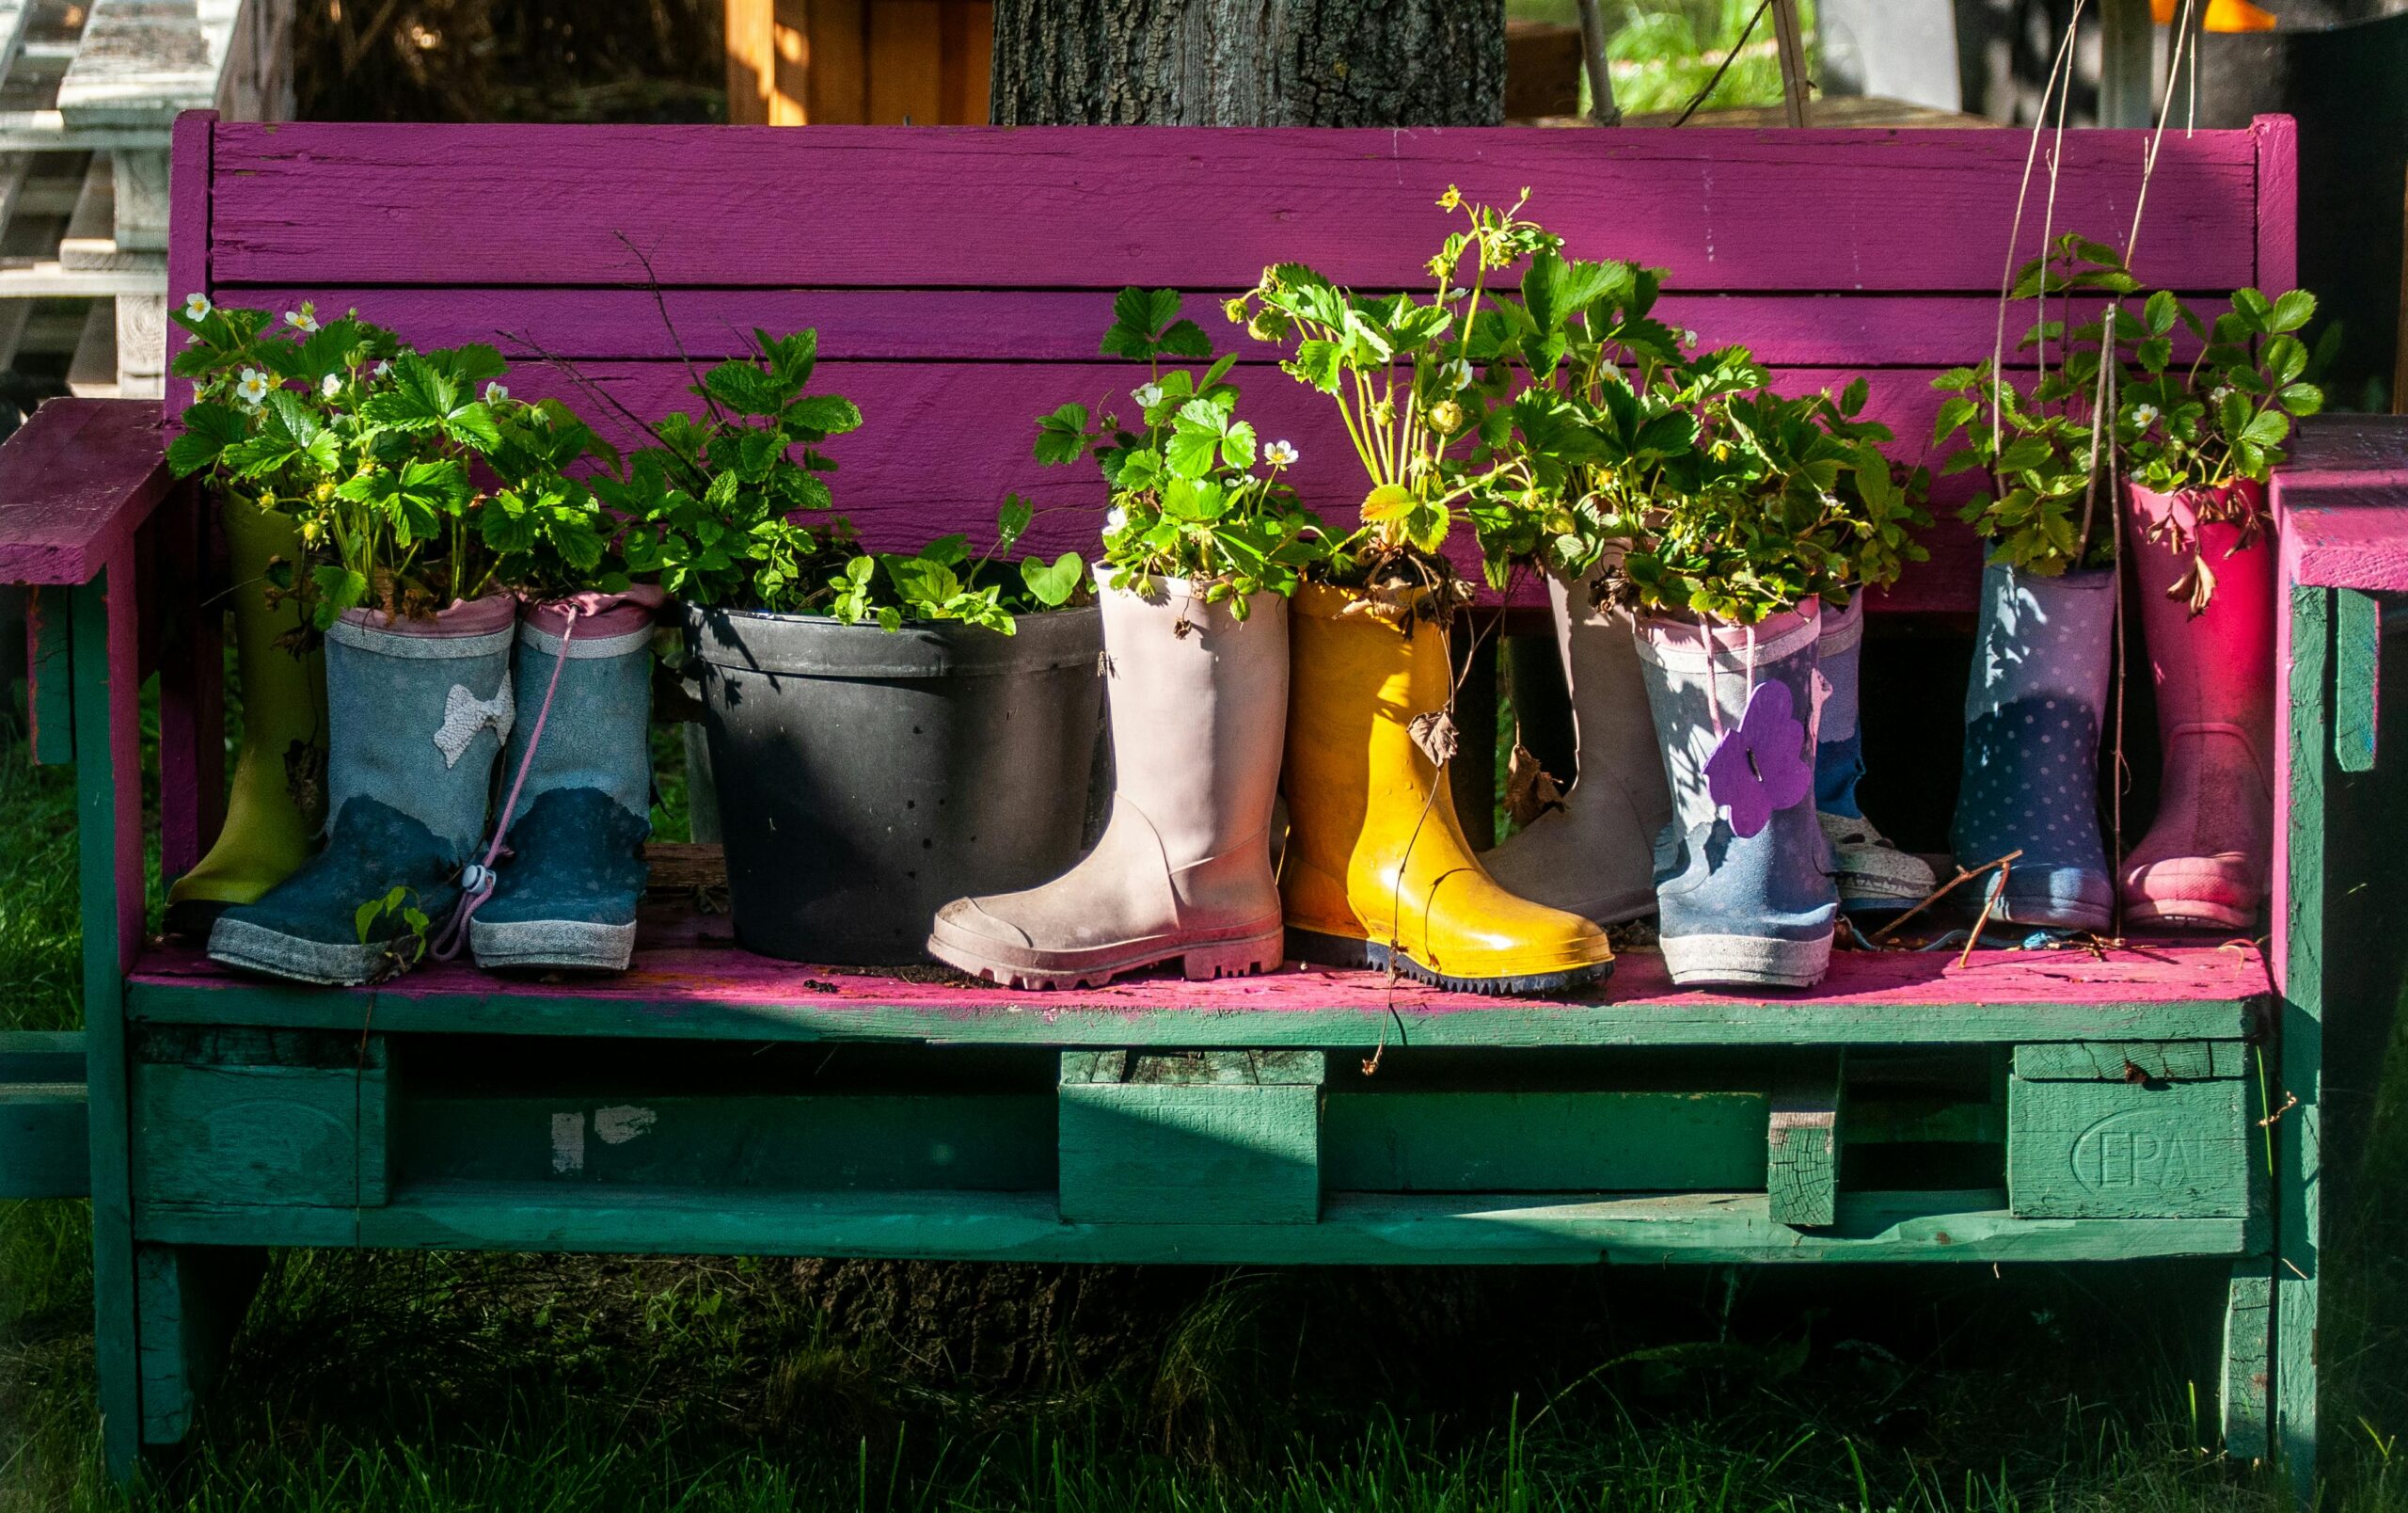
Generally, it’s best to really be careful with members of the mint family and any other plant that spreads by sending out runners (a good reason to grow strawberries in pots, too!) Consider containing any variety of mint (spearmint, chocolate mint, peppermint, etc.), pennyroyal, oregano, and thyme.
I’ve experienced this myself by having chocolate mint cover an entire hillside. It mixed with the grass, but there were whole swaths of pure chocolate mint. I didn’t mind, and it was so beautiful and very fragrant… but it definitely opened my eyes to mint’s super-power of spreading on the sly!
Other herbs can spread like crazy by reseeding themselves!
They’ll pop up everywhere after you’ve grown them once, including in other containers they’re grown beside.
(As an Amazon Associate, I earn from qualifying purchases.)
Herbs that reseed themselves everywhere include:
Really, though, there’s nothing quite so lovely as herbs growing wild everywhere, so this isn’t always a drawback. <3
Another major pro of growing herbs in containers is that you can pot them in many different mediums!
Favorite growing mediums include:
- Store-bought potting soil
- Homemade potting mixture
- Dirt from the earth
(Some people choose not to use soil from the earth, especially if it’s low in organic matter, or high in clay or sand. Sometimes people worry about pests and contaminants in their soil, too… On the other hand, if you have access to good, rich, healthy soil, pot your plants in it!)
How to Make Your Own Potting Mix
If you’d like to make your own potting mixture, I’d encourage you to do so! It’s great to know exactly what you’re growing your medicinal herbs in, and mixing your own means you can create an incredibly rich and wonderful growing medium that is cheaper per-unit than if you buy it in the store.
(Actually, not only is good quality potting soil expensive to buy, but lots of people mix in their own amendments to get the consistency and drainage they want into it anyway. Mixing your own is just so much better all the way around.)
This video is an AWESOME demonstration and explanation of how to make your own potting soil, so be sure to watch it now!
Now, let’s talk about which containers you’d like to use!
Choosing the Right Containers to Grow Herbs
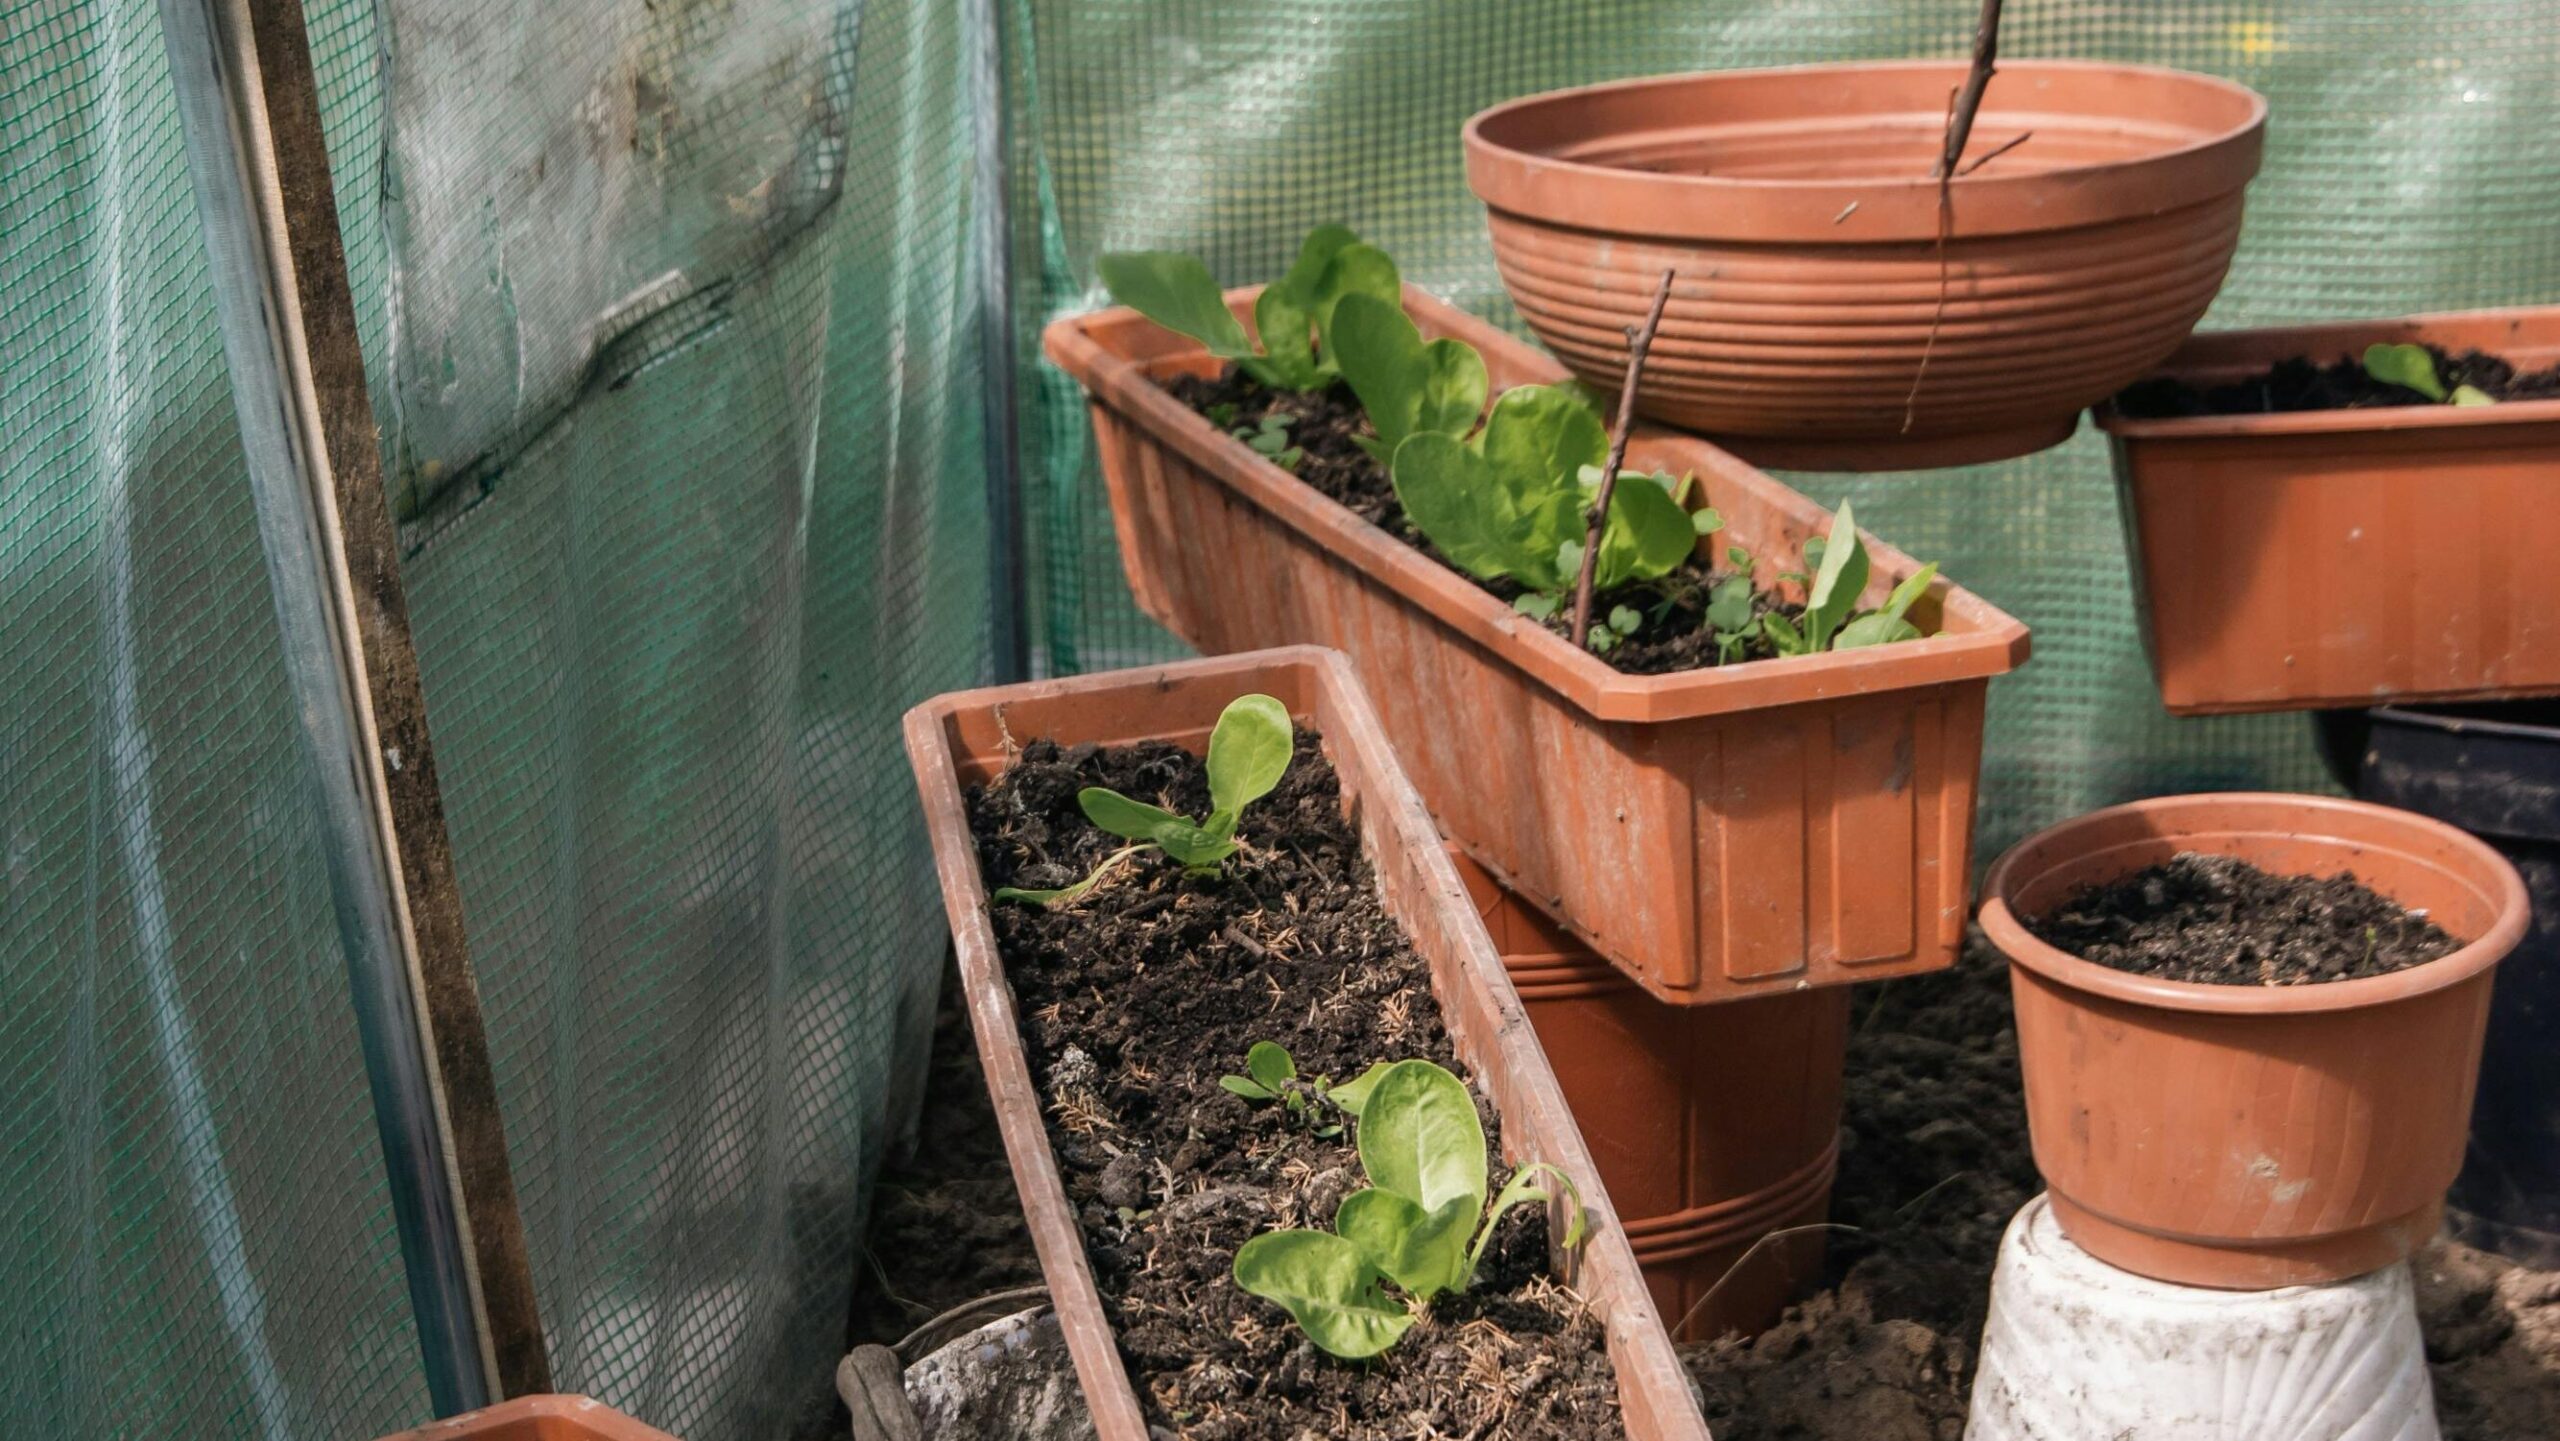
When we think of container gardening, most of us think of flower pots that fit well on a porch or around the house inside. And that’s probably the most common way to grow herbs in containers… That said, there are many other options that people may use, too.
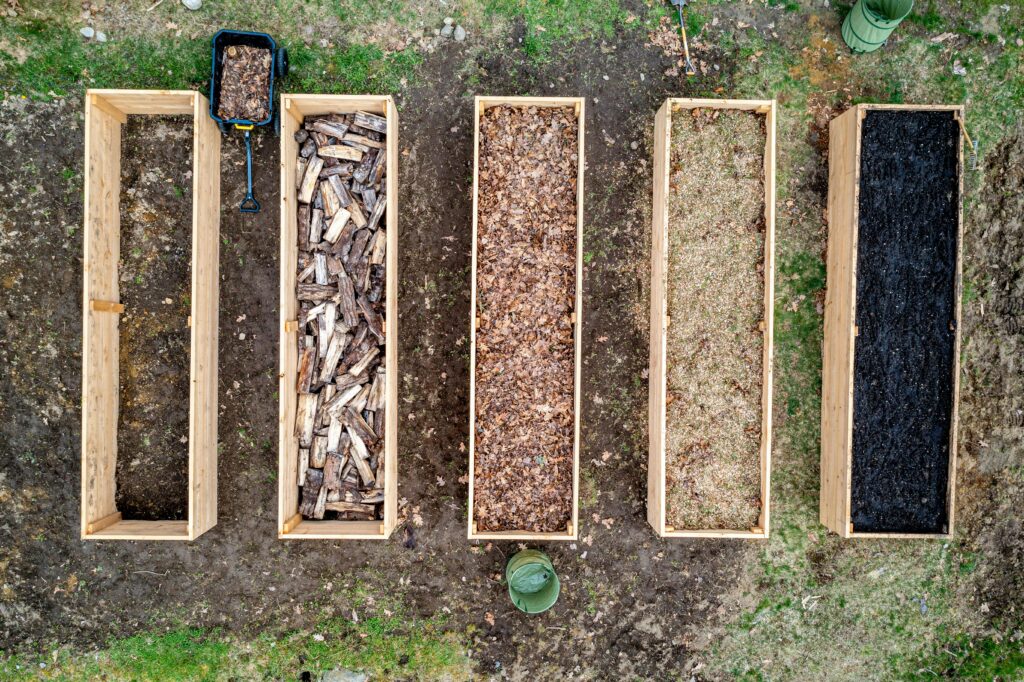
For example, it’s very common to grow herbs large containers outside due to poor soil, living under HOA restrictions, preventing animals getting into the gardens, or to make it easier to move a garden to another location, later.
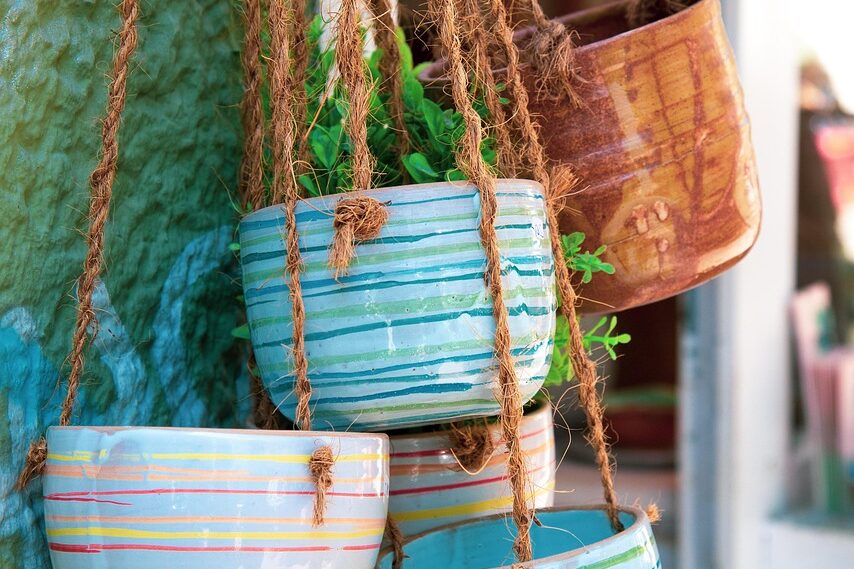
Options range from simple pots, to hanging baskets, to large raised beds outside, to innovative and creative grow systems.
When choosing containers to garden in, the size is important — both depth and width.
Deciding how deep of a pot to use is the first thing to decide and is a fairly straightforward decision… Grow herbs with shallow root systems in shallower containers and use deeper ones for the deeper-rooted plants.
If you’re not really sure, consider the body of the herb you’ll plant. Herbs that do not get very tall, that creep across the ground, or that are not very thick-stemmed tend to grow finer roots in a mesh pattern that spread outward just under the surface of the soil. They will be very happy in a shallow pot.
Herbs that grow tall, large and heavy, with thick foliage and beefy stems would need more space to grow deeper roots that they’ll use to anchor themselves and draw in plenty of nutrients and water from deeper in the soil layers.
(A shallow pot is between 4-6 inches deep, a medium pot is 8-10 inches deep, and a deep pot is anything 12 inches deep or more.)
Popular Herbs that thrive in Wide and/or shallow pots:
(As an Amazon Associate, I earn from qualifying purchases.)
Popular Herbs that Thrive in deeper pots:
Herbs that need a Deep Pot, A bed, or planting in the ground:
- Cannabis
- Echinacea
- Fennel
- Ginger
- Horseradish
Note: these lists are not exhaustive nor exclusive – you’ll notice there is overlap in the lists above. Plants will grow in any depth of soil, as long as it’s deep enough for them to live. It’s best to give them more space than less to encourage deeper, stronger root systems!
Wide v.s. Narrow Pots
The width of a pot is just as important to consider as the depth!
If you’re growing just a single plant per pot, try to use a container that’s at least as wide as the plant will grow to be. This keeps the plant from becoming top heavy and toppling over.
You might decide to grow several herbs in a single pot. These herbs may be all the same kind, or several different kinds all planted together (this is called companion planting).
Companion planting is especially lovely, as it creates very beautiful living arrangements, is less likely to be attacked by insects, and allows you to use the containers to their best potential.
Growing rows of herbs in long containers adds lots of texture and space to your container garden, too! In this case, choose a container that’s long and of medium depth with drainage holes along the length of the bottom.
What Materials Should Garden Containers be Made Of?

There are many, many different materials that are used by people to grow their herb gardens… but there are only a few that you’d really want to grow your herbs in.
The best containers to grow herbs in are containers made from natural (preferably breathable) material.
(As an Amazon Associate, I earn from qualifying purchases.)
Choose containers that are made of:
This is a small range of materials, but they are simple and they are healthy to grow in, and you can find or make some fantastically attractive container gardens while sticking to natural materials for your containers.
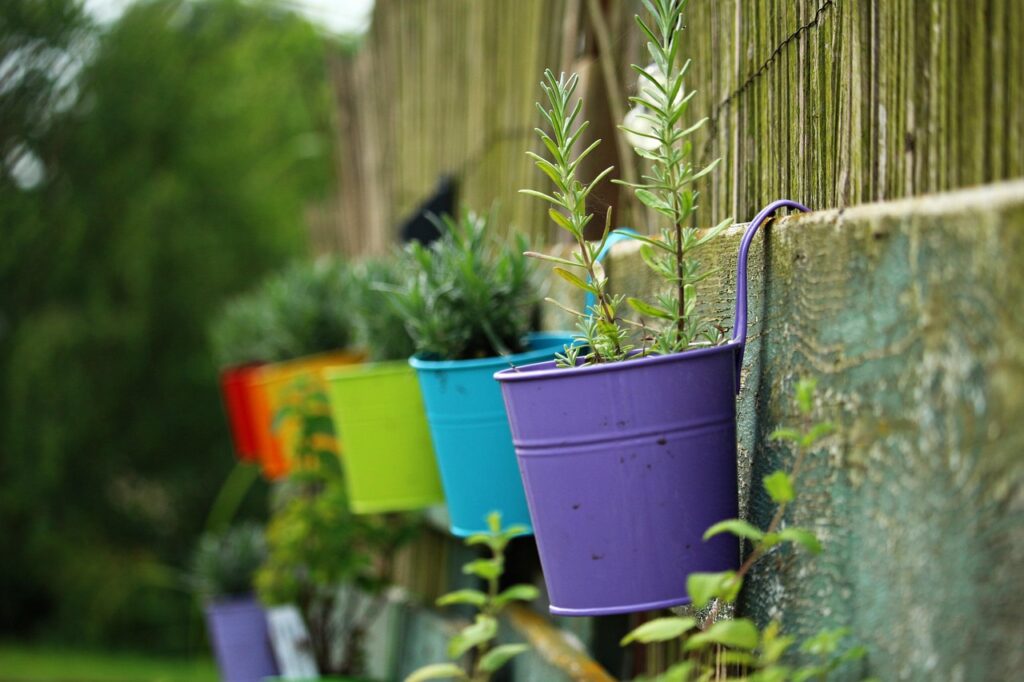
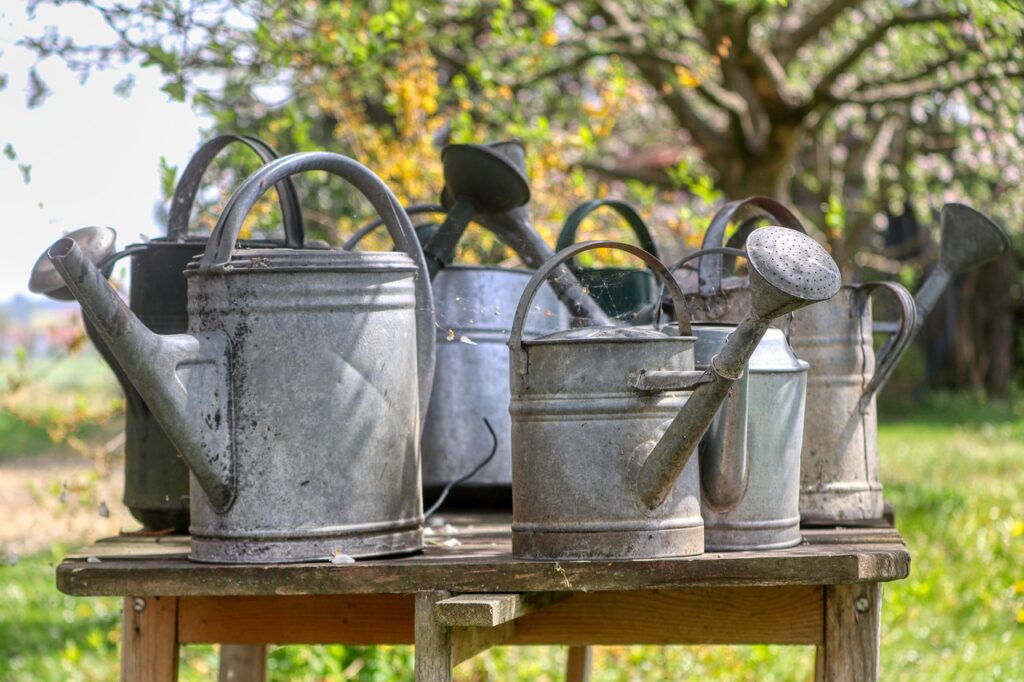
A note about metal containers:
Metal containers are not inherently bad. In fact, some really creative and wonderful grow systems have been devised using gutters, while repurposed watering cans, wheel barrows, and even old truck beds have been used to create some stunning living yard art.
So I’m not advising that you avoid metal containers across the board… but there is one caveat that I’d like to mention:
Metal containers will trap and hold heat. It’s not really healthy for your plants’ roots or the microorganisms that live in healthy soil to be contained in a container that is going to overheat them.
If you decide you want to use metal containers, consider burying them or finding some other way to keep them from overheating and cooking the life living inside them.
A note about plastic containers:
Avoid growing anything in plastic containers — no matter how common or cute or convenient they may be.
Plastic will leach chemicals and micro/nano plastic particles into your soil, which are then taken up by your plants and stored in their tissues. When you use these plants medicinally, these chemicals and particles are released into your homemade products, and are taken into your, or your loved ones’, bodies, where they cause serious, long term, real life harm.
This is a toxic cycle that we’re trying to break, so PLEASE, PLEASE, PLEASE do not use plastic containers to grow your herbs – or anything else!
Tips for Container Gardening Success
So, now that you have your plants planned, your soil figured out, and your containers in hand, let’s talk about some things you can do to make sure you’re able to get fantastic results growing herbs in containers!
Make Sure Your Containers Drain Well
Good drainage is essential to growing anything successfully. Unless you’re growing plants that specifically prefer wet or boggy conditions, undrained soil will kill your plants eventually.
First, plants need the little air pockets that naturally form in the soil. If those air pockets stay filled with water, the plants will essentially drown.
Next, excessive moisture creates the perfect situation for mold and algae to grow in the soil and on the surface. (Mold on your plants is not the same as the beneficial fungi that live in the soil and are essential for healthy nutrient uptake by your plants.) Mold and algae signal that the soil is holding too much water, and some will actively kill your plants.
Also, several types of pests will be happy to make their homes in your undrained containers. Some types of insects that live in overly damp soil are harmless, or even helpful to plants, but others will damage your plants, usually by boring into the plants to suck their sap.
All of this is easily avoided, in part, by having good drainage in your containers. And that’s easy to do.
Just make sure that there are several holes (or at least one!) in the bottom of your pot or container, so that the excess water can drain out.
Don’t be afraid that the water will drain out too fast and leave your plants dry. If you mix in enough organic material, like compost, then it will act like a sponge, absorbing the water as it passes through the container, and keeping your plants well-watered without becoming boggy or oversaturated.
Another thing that will help drainage immensely is to make sure the soil is not too compact so that the water can drain through.
Most soil mixtures, whether store-bought or homemade, will contain perlite and/or vermiculite. These additives are specifically used to keep soil loose and to absorb water as it passes through.
However, you can also mix sand into your soil to ensure good drainage. Small gravel is also a good option for helping the containers drain well.
In fact, it’s a great idea to put about an inch of small gravel or sand in the bottom of the container and then fill the pot the rest of the way with soil. This keeps the holes in the bottom of the pot from becoming clogged and unable to drain properly.
One herb that especially likes well drained soil and to have “dry feet” is lavender. Good drainage and rocky, pebbly soil is the secret to growing amazing lavender plants! ; )
How to Water Plants in Containers
First, it’s important to know how much water different herbs prefer. Some like to stay consistently moist and are very sensitive to drying out… others prefer to only be watered occasionally, and for the water to drain well.
There are also some plants that prefer to be watered from the bottom. These need a tray that holds water all the time underneath the container. The water soaks upward, and the plants drink as much as they need without overwatering.
So, the first step to understanding how, and how much, to water starts with knowing the character and preferences of the herb in that container… In general, most herbs need excellent drainage to be happy.
Next, it’s a good idea to learn how much water it takes to water the plant deeply, but not so much that a whole bunch of water runs out of the bottom of the pot. A little bit will run out the bottom, but it shouldn’t several cups’ worth every time because you run the risk of leaching the soil of nutrients over time by rinsing them out of the container and right out through the drainage holes.
Generally, a good rule for watering a container that has established plants in it is to completely wet the soil and let the excess drain out with gravity’s help. Then, don’t water again until the top inch or so of soil is dry. A good rule of thumb is to stick your finger into the soil. If it’s dry up to your first knuckle, it’s time to water!
Letting the soil dry a bit between waterings helps the plants develop strong root systems because they grow down deeper seeking the water in the lower level of the soil. This is also where having plenty of organic material in your soil mixture comes into play. The soil stays moist deeper down where the plant can find the water.
(Do not water seedlings this way because they are likely to die without consistent water. Keep seedlings damp, but not wet, until they are big enough to survive without the constant moisture.)
To help you balance watering without overwatering, there are a few tricks you can use:
Mulch the top of the soil in your containers.
This may seem unusual, but the blanket of organic material on top of the soil will act as a sponge, maintaining healthy moisture levels without being wet or drying to a crisp on the surface. Mulching plants, even in containers, can protect your plants from drying out and dying, even in the peak of summer heat or during times of drought. It also protects the soil surface from growing algae or supporting pest infestations while supporting a healthy soil microbiome at the same time.
Mulching is your secret weapon for keeping plants healthy and alive.
Good choices for mulch are untreated grass clippings, hay, crumbled up dried leaves, coconut coir, or any other dried organic material that you can pile around your plants. The containers will also look very attractive, so give it a try if you haven’t before!
Use a regular watering schedule.
Watering is relatively intuitive. You can tell when your plants are dried out and thirsty, and you can tell when they’re happy with plenty of moisture left in their soil… Once you have a feel for how much water they like, water them on a regular schedule. It’s also a good idea to water plants in early morning, before they’re in full sun. This way the water soaks in and they aren’t parched, but the sun can also dry the surface of the soil so that things don’t get and stay saturated.
Use a soaker system.
There are several soaker hose systems that you can buy to keep your plants watered consistently without drowning them. These hoses trickle out a gentle, steady amount of water that can absorb into the soil at a consistent rate so that your soil never gets too wet or too dry. In the high heat of summer or when your area is experiencing a drought, this type of system can mean life or death for your plants.
(As an Amazon Associate, I earn from qualifying purchases.)
If you don’t want to use a hose because it doesn’t work for your specific container gardening setup, you can also buy slow waterers, like the glass bulbs with long stems that you push into the soil. Similarly, you might opt for these terra cotta waterers!
For a DIY option, pierce a paper carton with holes and bury it near the plants in your container, filling it with water and allowing the water to seep out into the soil slowly.
Put gravity to work.
Another good idea is to use gravity to your advantage but putting plants on frames or platforms in such an arrangement that when you water your plants at the top, excess water runs into the pot(s) below it. For example, hanging baskets positioned over stationary pots could work well for this watering system.
There are tons of ideas that you can use to slow water your plants, and it’s great to get creative!
Feeding Plants in Containers
We all want to keep our herbs as happy and healthy as can be! And part of that is making sure they have plenty of nutrition in the right balances for them to thrive!
Herbs, specifically, prefer healthy, rich soil instead of heavy feeding or fertilizing, and this is especially true if you plan to use the herbs medicinally.
Honestly, it’s best to invest in plenty of nutrition up-front and plant herbs in soil that is rich in organic sources of nutrients like compost, worm castings, and composted manure.
If you do this the plants will have plenty of nutrients to support their growth for at least a year, and maybe more… If you suspect they’re struggling nutritionally, it’s best to just repot them, or to mix these natural sources of nutrients into the soil, rather than feeding them a chemical plant food.
Also, you can make your own plant fertilizers at home using natural sources, and this is what I would suggest. If you’d like to explore that more, check out my post about making your own fertilizer!
Container Soil pH and How it Affects Your Herbs
It’s important to grow herbs in their preferred pH.
The reason is that as the soil becomes more acidic or more alkaline, certain nutrients become chemically locked away, no matter how rich the soil is or how much you fertilize. An incompatible pH makes it impossible for the plants to take up the nutrients they need.
(As an Amazon Associate, I earn from qualifying purchases.)
Happily, you can easily get a pH test kit to check your soil’s pH, and there are several things you can mix into your soil before you plant to make sure you’ve got a good match between your soil and the herbs growing in it.
To be on the safe side, start with soil that has a neutral pH. It’s easier on seedlings and most plants are happy starting out neutral.
Also, most plants survive and thrive in a pH range, so there’s a good deal of overlap in what they’ll be happy growing in. Just research your specific herbs and set your soil up accordingly.
To learn everything you need to know about the pH of your container’s soil, and how to adjust it for the plants you’re planning to grow, check out my post, All About Soil pH!
Controlling Pests on Your Herbs
Thanks to the aromatic nature of herbs, there aren’t many pests that will disturb them… but there are a few.
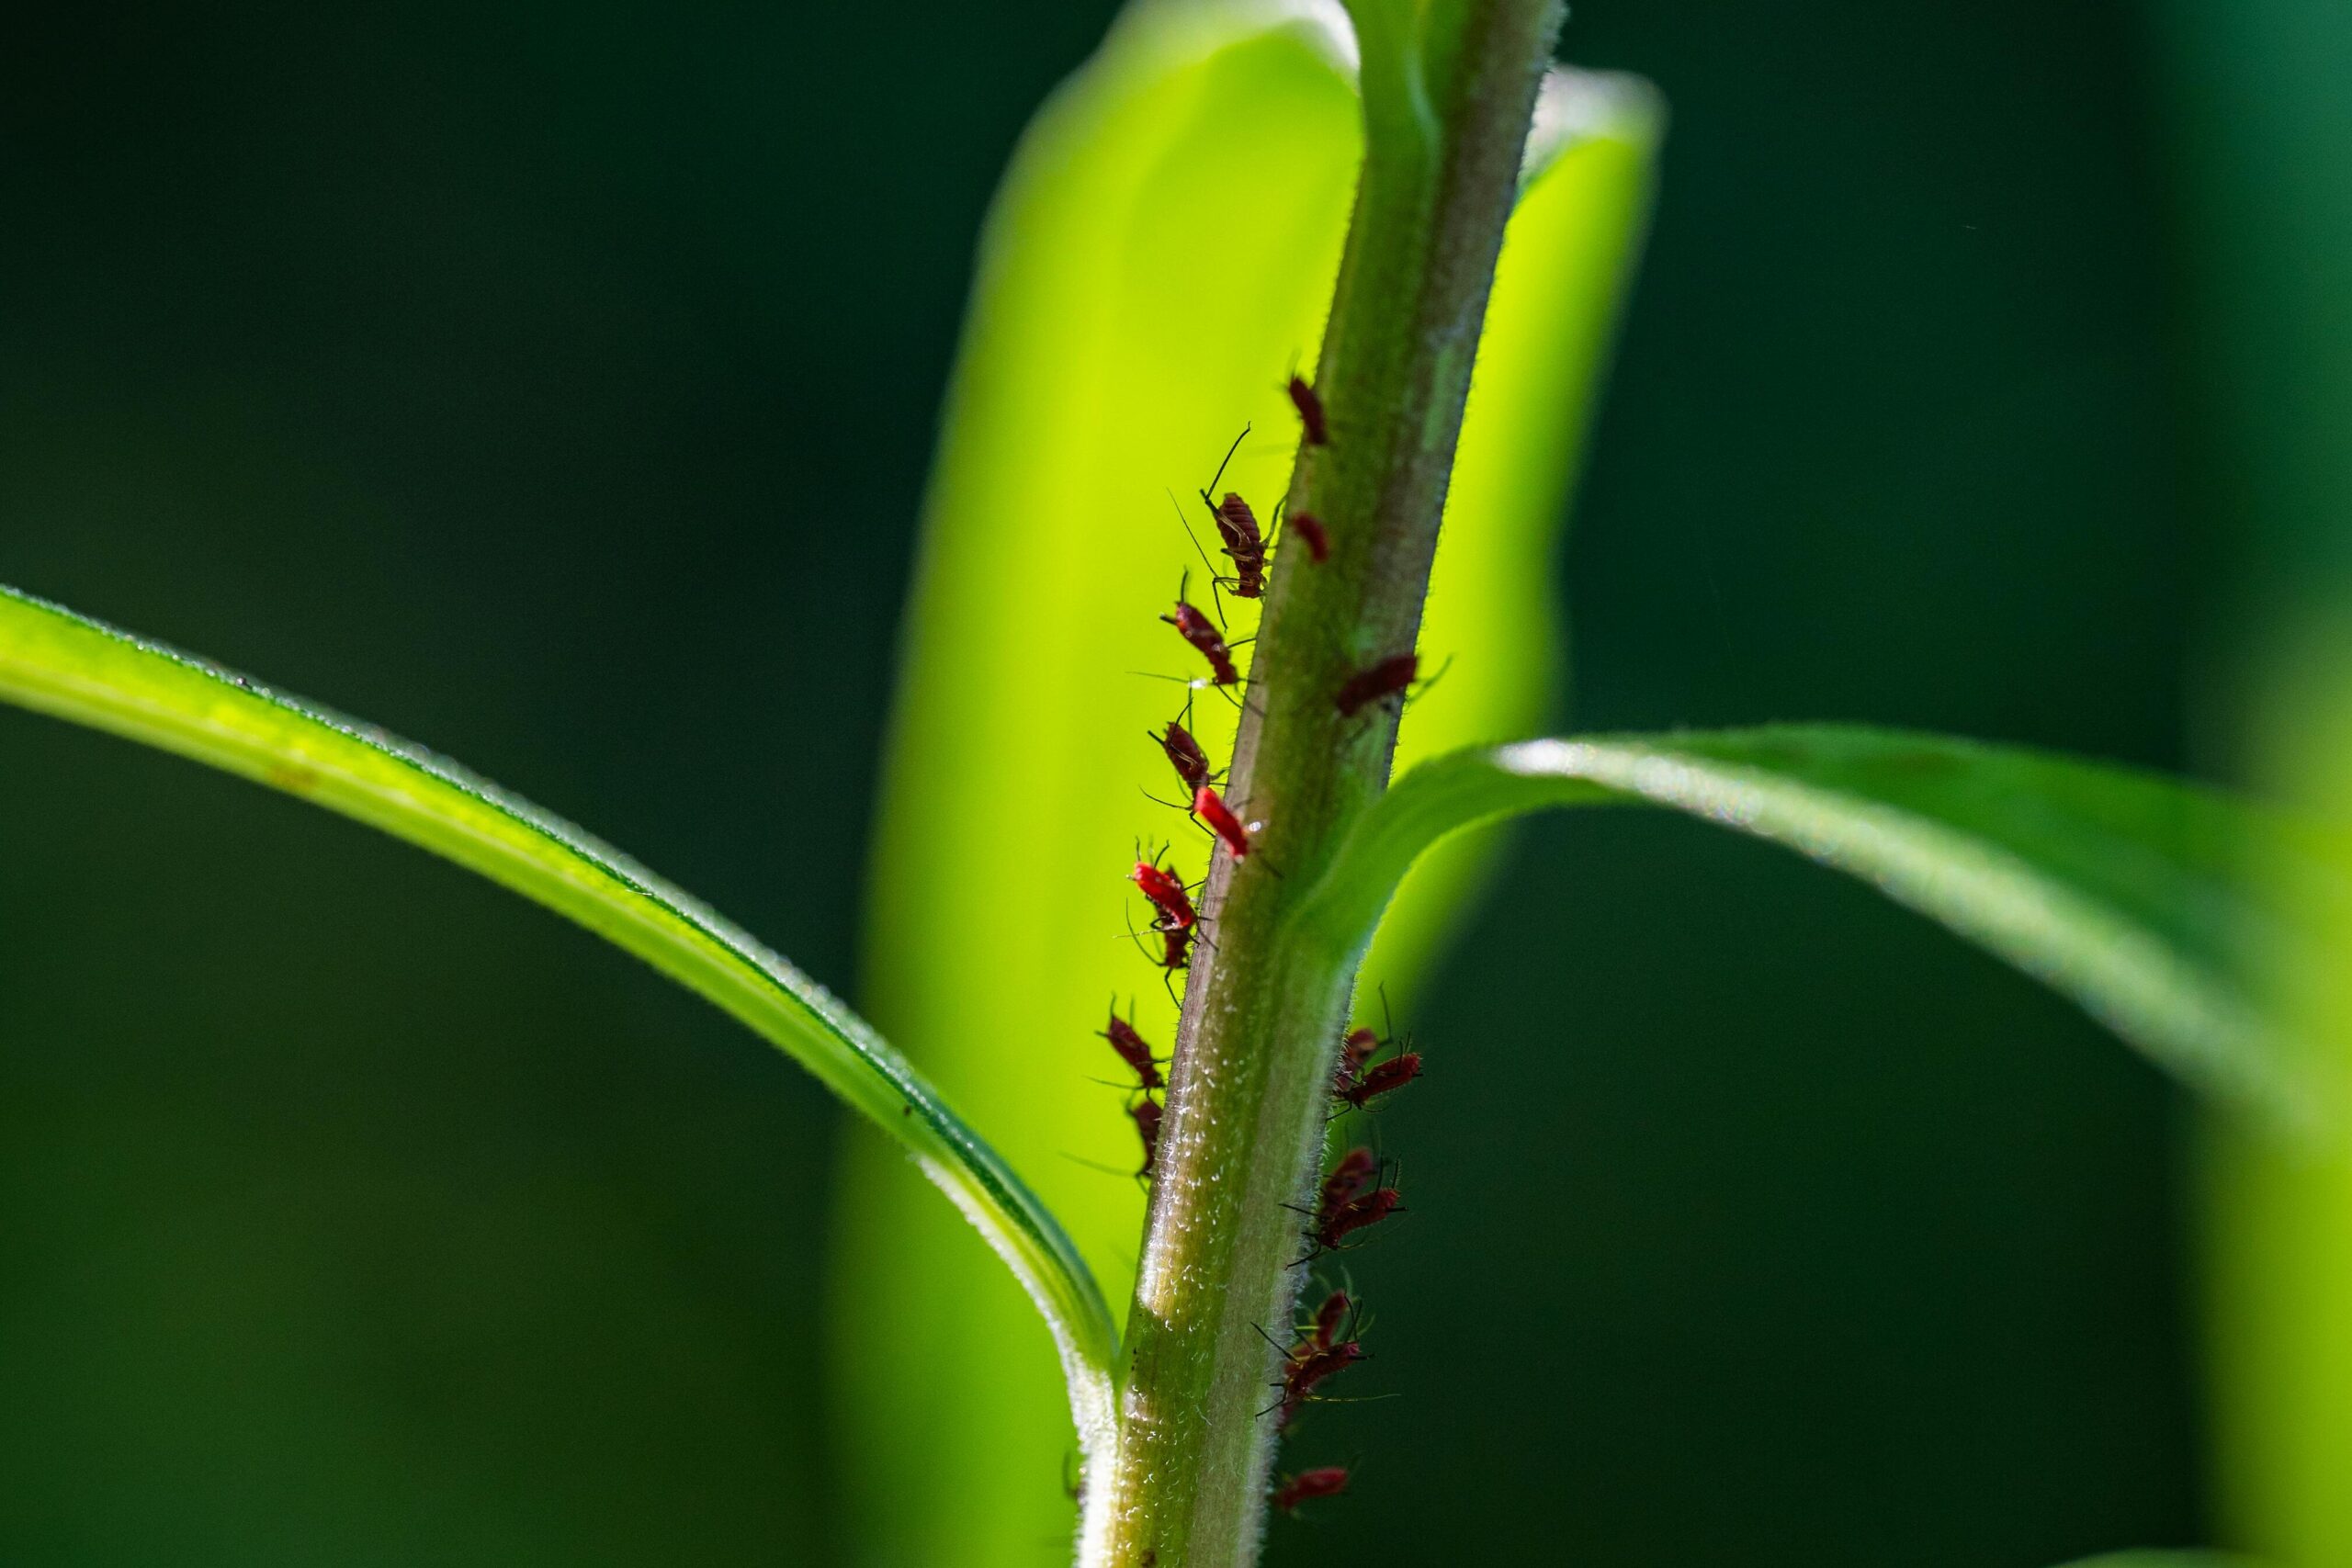
Specifically, aphids, white flies, spider mites, and caterpillars are known to colonize herbs, and it’s important to prevent them, or get rid of them as soon as you realize that they’re moving in on your plants.
This is quite a beefy topic that needs its own post to cover in-depth, so I’ll just hit the high points here… If you want to dig in on how to prevent pests in your gardens, read my post about it here!
Here are the most common ways to prevent and handle pests attacking your herbs:
Try to Prevent Pest Infestations Before they Start
Companion Planting
Your best defense against pests is companion planting your herbs. You can do this either by planting several plants together in a single container, or clustering several small containers with different herbs close together.
Companion planting works because there are many herbs the insects don’t like, and if those are interspersed with the ones they want, they’ll still find the selection unappealing overall, and search for better living conditions elsewhere.
Companion planting also attracts a wider variety of pollinator and predator species of insects that actively hunt the very pests that might be living in your herb garden. When you see wasps buzzing around or spiders making their way, don’t get upset. They are your allies, and they are hunting pests. They won’t bother you, and will be on their way as soon as they’ve caught what they need.
(As an Amazon Associate, I earn from qualifying purchases.)
Strong-scented herbs repel bugs the best. To grow natural insect repellents, choose:
This list is just a starter, and there are many more herbs that can repel pests in your garden. For more info on this fascinating subject, read my post about repelling insects with herbs!
Look for Signs of Pests
Another thing is to keep an eye on your herbs and remove pests if you notice signs of them.
Common signs of pests include:
- Leaf damage – edges or holes or a lacy appearance is usually caused by something eating the leaves.
- Cobwebs – fine cobwebs on your herbs, especially close to the stem or in tight spaces of the plant can indicate moths or other pests are actually living in and off of your herbs. This is different from a strand of spider’s silk.
- Discoloration or wilting – when tiny insects poke holes in the living tissues of the herbs and drink the sap, it weakens the plant as a whole. You’ll also see signs of local damage that look like rust spots or whole leaves, and maybe even the whole plant, can begin to turn yellow, red, or brown and just seem sickly in general.
Use physical barriers
If you’re companion planting and allowing natural predators to do their thing, and even moved your containers to a different location, the few pests that might be interested in your herbs will probably not be a big problem… but if you’re having a terrible time, you might consider physically barricading your herbs to protect them.
The best options for this would be screened structures. Whether you use a fine mesh screen, like window screening, or if you go with an ultra-fine option like garden mesh, these will both allow water, sunlight, and fresh air to still reach your herbs.
You can build a little screened-in box, or use a hoop-style setup, or even make a screened in area on a porch or patio. It’s really up to what you need, what you have to work with, and what you want it to look like.
If you decide to screen in your plants, try to keep the screen at least 8-12 inches away from your plants so that insects cannot land on the screen (especially when it sags with heavy water) and still eat or lay eggs on your plants!
Natural Ways to Kill Pests
No matter what, it’s normal to have problems with insects eating or living in/on your garden. If you’ve got trouble with a pest that causes heavy damage or has made it to the point of heavily infesting your plants, then you might decide to kill the invader.
(Do some research before you decide to wipe out anything, though. Common neighbors like ants, grubs, or insects that are unfamiliar to you often play an important role in the ecosystem of the garden, even in container gardens, and killing an insect just because it’s an insect can be hugely detrimental, even if you don’t realize it.)
When you’re growing herbs to eat or use medicinally, it’s best to avoid synthetic chemical pesticides at all costs – even if they work quickly.
There are several completely safe and natural pest killers that will work just as well, and I’ll tell you my preferred ones here.
Diatomaceous Earth (DE)
DE is a powdered substrate composed almost entirely of crushed silica. Under a microscope, the crushed silica resembles broken glass.
To use DE, simply dust the powder onto the insects you want to kill, covering the plants well. Water will tamp the powder down or wash it away, so reapply as needed until the pests are gone.
It sticks to their exoskeleton, making thousands of microscopic cuts through it. Insects cannot heal their exoskeleton, and within several hours, the insects will dehydrate and die. There is no way for insects to survive this death because it is a physical death, instead of a chemical one that they can adapt to or form a resistance to.
DE is safe for pets, children, the ecosystem, and will kill pests effectively.
Neem Oil
Neem oil is the oil pressed from the seeds of the evergreen Neem tree (Azadirachta indica). Neem has grown in popularity around the world because it is incredibly useful and one of the safest natural insecticides and is harmless to people, animals, and beneficial organisms in the ecosystem.
Neem is a contact insecticide, so it needs to touch/cover the insects you’re intending to kill. It works by inhibiting many of the insects’ natural functions – such as preventing them from eating and interrupting their reproductive systems.
To use neem on your plants to kill insect infestations, you’ll want to dilute it down in an emulsifier, such as soapy water, because it is very thick when undiluted.
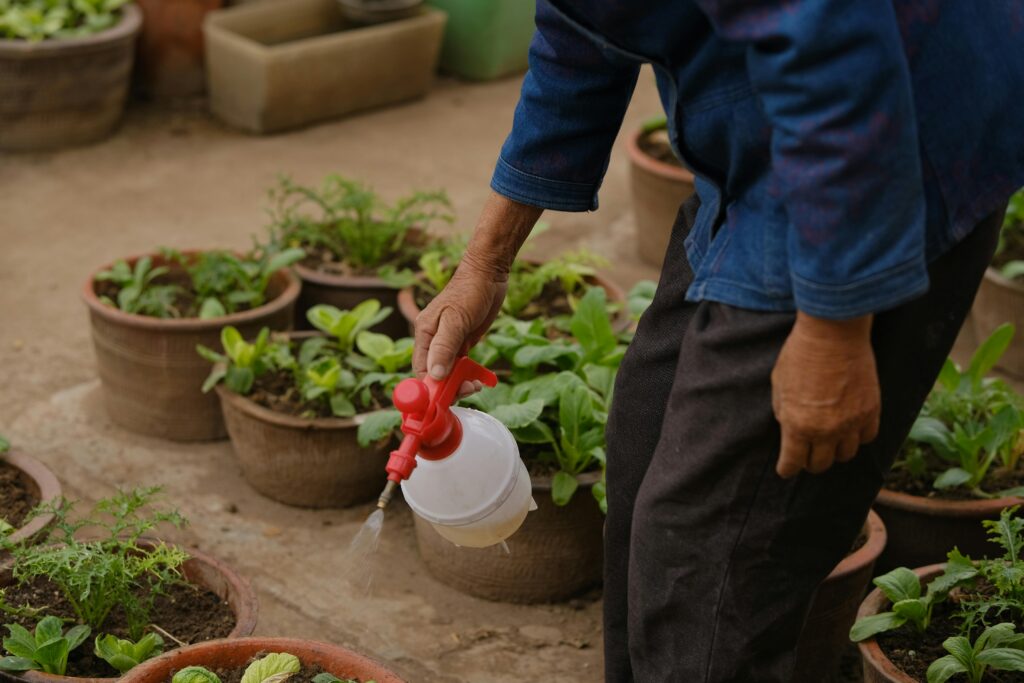
So, just mix a few spoonfuls worth of soap into water in a spray bottle, and then add about 1/4 cup of neem oil to the soapy water. Shake the bottle to mix them together well and to dilute and diffuse the oil through the mixture.
Now spray the diluted oil on all the surfaces of your infected plants – including the tops and bottoms of the leaves, and where the leaves meet the stem – everywhere that tiny bugs could hide needs to be covered in the oil.
Repeat daily until you’ve eliminated the infestation completely.
soapy water
Plain soapy water will also kill insects. The surfactants in soap that break down oils and make soap useful to us as a cleaner also cuts through the protective oils on insects’ exoskeletons.
While it may not work as well on larger insects with harder skeletons, soapy water is an excellent deterrent for pests that are likely to attack your garden – including aphids, white flies, spider mites, mosquitos, and others.
To kill insects with soapy water, just mix several spoonfuls of soap, up to 1/4 cup, into warm water (or even hot water if you want) and spray the plant down. Cover the tops and bottoms of the leaves, the stems, and wherever you think pests might be lurking and hiding.
(To use on larger, harder shelled insects and arachnids, a very strong soap solution will work. We have had good results using a strong Dawn soap solution on the aggressively invasive Joro spiders in the southeastern U.S..)
Final Thoughts on Growing Herbs in Containers
In this post, I’ve tried to cover most of the things you might wonder or encounter when you’ve decided to grow herbs in containers. If there’s anything else you think would be beneficial to your container herb gardening experience, please drop a comment below and I’ll respond, or amend the post!
I hope you’re excited and confident as you strike out on your herb gardening adventure! I hope you have a beautiful growing season filled with beautiful herbs, delightful smells, and the confidence and satisfaction of growing your own herbs to use in your own home’s apothecary!!
Up next is how to grow an herb garden in the ground, so be sure to check that out too, for more gardening insights and tips and tricks that you might want to use, as well!!
Until next time, to your great gardening!
Love and happiness,
Cariel
Sources:
Neem Oil and Crop Protection: From Now to the Future. Frontiers in Plant Science. Campos, Estefania V. R., et. al. October 12, 2019. Retrieved March 6, 2026.
Leave a Reply